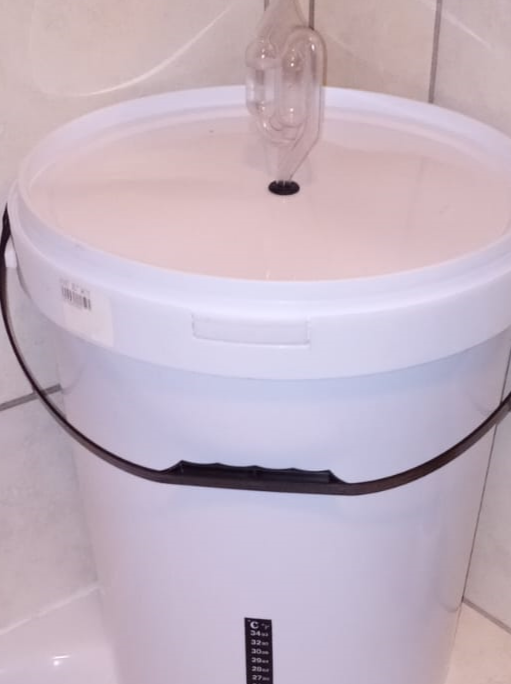
This is the third and final step in the process (it follows the steeping/boiling process as well as the fermentation process)
The goal is to take your fermented wort (now considered a non-carbonated beer) and carefully siphon it into your final product containers (beer bottles) and leave it to carbonate (create bubbles).
Again, this step requires good sanitization - don't skip it.
This is the stuff from the previous step.
i.e. your fermented wort.
It's still in the bucket/fermentation vessel. You haven't messed around with it unnecessarily.
The bubbling would have mostly stopped. It's now +- 14 days later and on a day you have sufficient time to do your bottling.
Hydrometer (OPTIONAL)
Whilst some may claim that this is an absolute necessity I will only admit that it has aided in giving me some confidence.
It's really useful in helping you confirm the sugar measurements - and as such prevents you from getting anxious when not knowing.
However, in all my efforts over the last 2 years, I have not yet had this little tool tell me that I've somehow gotten it wrong.
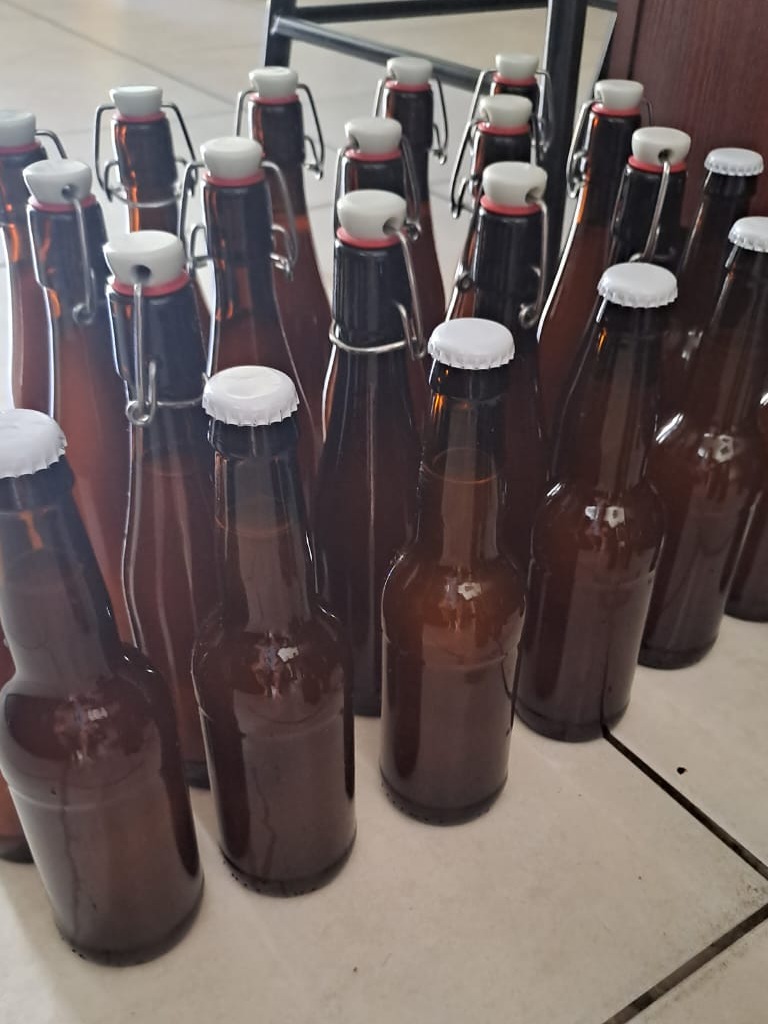
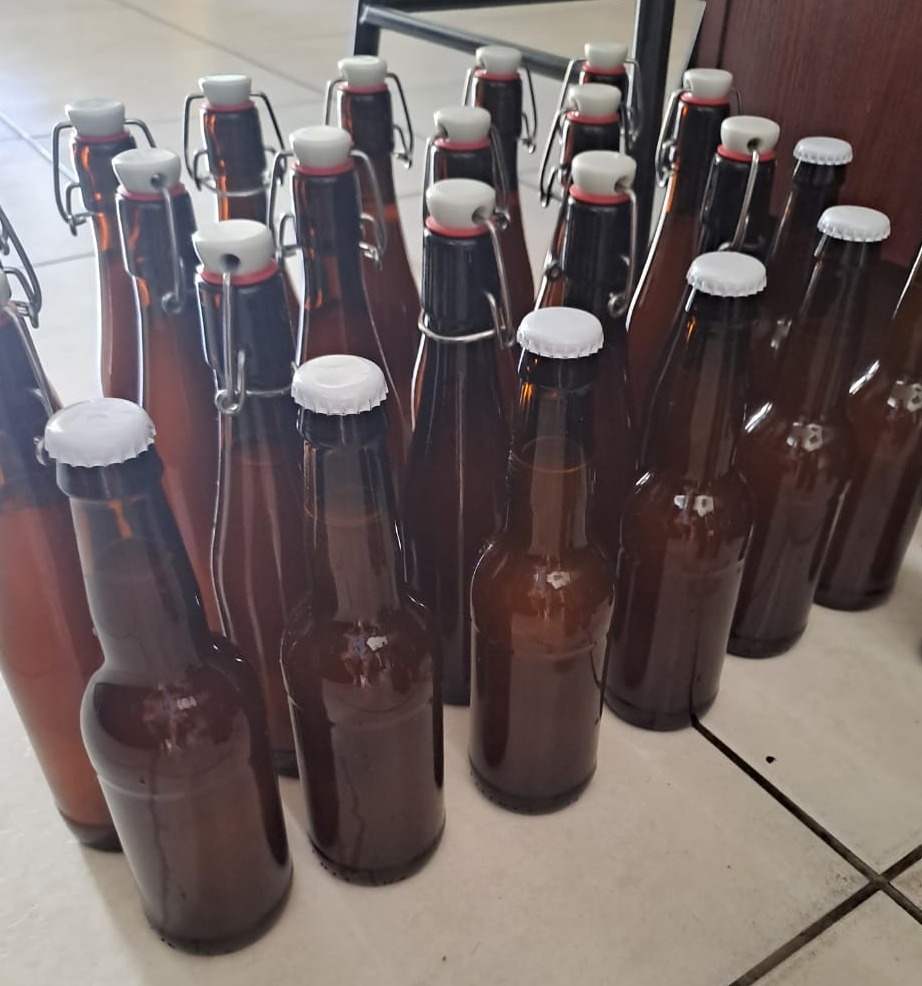
You'll notice in the picture above I've got two different bottle types.
The first is a standard, 330 millilitre amber coloured beer bottle. It uses normal beer caps which need to be crimped/capped using a specialized Capping Tool.
The second type of bottle is known as a swingcap bottle (also 330 millilitres) - it seals through a leverage mechanism and doesn't require any fancy tools to close them up. I used these in my first batches whilst I was still figuring things out.
Assuming you haven't purchased a bottling wand, I use an alternative method using basic tools below.
You'll need a siphoning pipe - roughly 2.5 milliliters in diameter (i.e. it's small) and you'll need a syringe to fit into it (snug). You will use the syringe to sanitize the pipes and start the siphoning process (I'll show you later).
I've ended up using fold-over paper clips for two reasons. a) I use a paperclip to block off the pipe when I need to stop/pause the siphoning process (it keeps from from having to restart completely). b) I attach one of the clips to the end of the siphoning pipe when dropping it into the wort (as a weight to keep it at the bottom) (obviously I've sanitized this ahead of time).
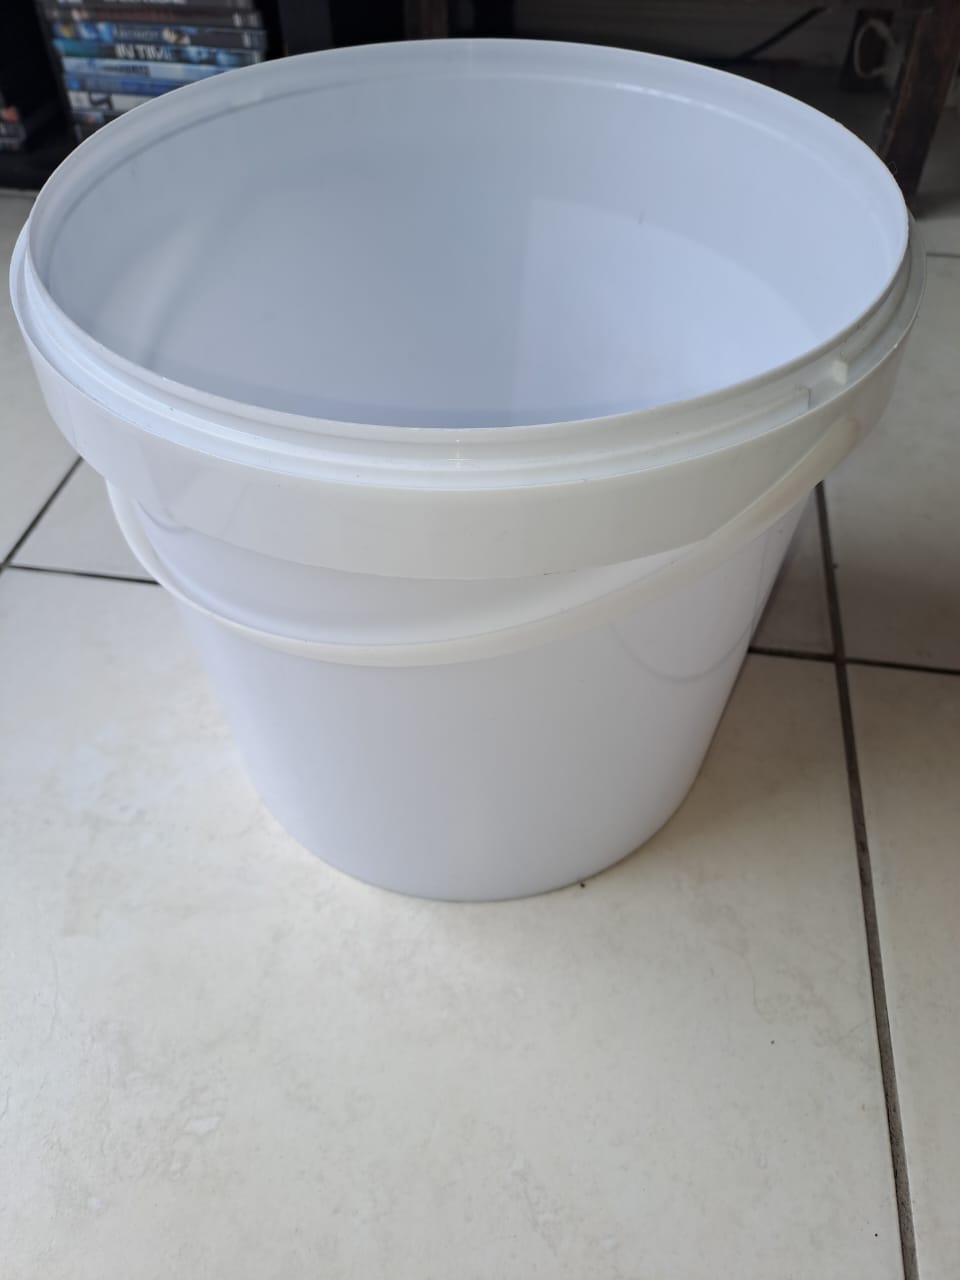
You'll need a 5-litre plastic bucket with 2 / 2.5 litres of water in it and you'll need to add 20 millilitres of sanitizer to it. You will use this to clean out all the bottles before siphoning the beer into them.
Remember: 5 minutes contact time for the sanitizer.
Note: Single Ingredient Required
For this step, you need a single ingredient namely bottling sugar. You get a variety of options here (ranging from liquids to sugar pellets). I have however ended up using simple, everyday, household sugar. For a typical 330 ml bottle you need 4.5 milliliters per bottle (yes, I measure this using small scoops marked in milliliters). The more sugar you use, the more the beer will carbonate. As such, you may end up experimenting with this over time.
Sanitize, prepare your siphoning pipe & have a first look
First things first: Prepare your bucket with sanitizer and have it close by. Sanitize the syringe, siphoning pipe, and fold-over paper clips I usually use the syringe to push some sanitizer through the pipes to ensure that it's clean inside.
Once you are ready, open the fermentation vessel (careful not to get your hands or anything else inside it). I usually leave the lid halfway on. Don't go put your nose in the bucket to smell it immediately (the CO2 will give you a good wack). If you really want to, give it a minute and then have a careful whiff. You should get a "beer'y" scent :-)
Now (for those without a bottling wand), lightly tie one end of the siphoning pipe around / through one of the fold-over paper clips (preventing any bends in the pipe) and drop it into your fermenter (slowly and carefully to not disturb the bottom sediment too much). Let it sink to the bottom.
Using the syringe, push some sanitizer up the other end of the siphoning pipe (let's say 3 quarters of the way). Now, carefully removing the syringe, let the sanitizer flow back into a separate container (cup/glass - you will throw this content away later). You will see the siphoning process also pulling the beer along with it. Once the sanitizer has been siphoned out of the pipe and the beer is flowing out of it, clamp the pipe with your fold-over paper clip.
Measure the Sugar Content (Gravity)
If you have a hydrometer, now would be a good time to unclamp the siphoning pipe and siphon some of the fermented wort into a container and measure the gravity. This should give you some indication of the alcohol content. A good calculator can be found here. Clamp your siphoning pipe when you are done.
Clean and Sanitize your bottles
Now, wash your bottles using the sanitizer & water mixture you prepared beforehand. Fill up the bottles with the mixture, shake them well, and then drain then of the mixture. Dry them off (outside only) and allow the 5-minute contact time. Ignore the foam on the inside - it is perfectly safe.
When you are ready (i.e. you have some sanitized bottles),
a) add some fermenting sugar (4.5 milliliters) to each bottle - I use a small dry funnel (sanitized earlier).
b) unclamp the siphoning pipe and put the end into a bottle - let the bottle fill until about 2 centimeters from the top. You need to leave some space for the carbonation - or else you may end up with gushing bottles.
c) Once the bottle has been sufficiently filled, crimp the CAP on (using a Capping tool) or close the bottle if it's a swing-top bottle.
d) dry it off and put it aside.
e) continue with the other bottles
Continue with the above process (filling and capping your bottles) until you have siphoned most of the beer from the fermentation vessel. Be careful when the level of beer in the vessel reaches the bottom. Keep an eye on the siphoning pipe for particles flowing through it with the beer. Ideally, you want to stop the siphoning process before the bulk of the sediment gets siphoned through as well - you want to keep the beer in your bottle as clear as possible. Although you may have the urge to siphon everything from the fermenter, I urge you to try and fight that urge :-) When you see the liquid becoming murky, rather stop and enjoy the good quality beers you have just created.
Store and wait
Take your bottled beer and store it somewhere in your house where the room temperature is between 18 and 25 degrees celsius and where there is no direct sunlight. If you have a stick-on thermometer strip, keep an eye on it. Wait for 10 to 14 days and then take one of your beers and put it in the fridge (I'd try one beer after 10 days and, if it hasn't carbonated properly, then left it until 14 days). Let it chill property down to anything between 3 and 8 degrees Celsius. Open it up, test it, and chill the rest for an enjoyable batch.
Clean up
Remember to clean up after bottling. The wort still contains sugar and may invite your friendly insect critters :-)
Yes, you can leave the foam that remains in your bottle after sanitizing. The sanitizers you buy from local suppliers are considered food-grade and safe.
Yes, there is. You can use a bottling wand - essentially a piece of tubing with a gravity/spring-loaded valve at the bottom. You connect your siphoning tube to one end and drop the wand into the bottle - once the valve pushes against the bottom the valve opens. When you lift it, the valve closes. Ideally, you'd want your fermentation vessel to have a bottom tap that sits above the sediment or, alternatively, you still have to drop the siphoning tube into the bucket from the top.
I've never owned a bottling wand and had to figure out another way of achieving the same.
Buy yourself some swing-top bottles - their caps close up with a leverage system. These bottles are slightly more expensive than the standard bottle but don't require you to have any special tools to close them up. An even better idea would be to buy beer that already comes in a swing-top bottle (like Grolsch) - you end up paying the same as you would for an empty bottle but, instead, with some beer in it :-)
Probably not. This is my go-to strategy and has always worked out well. I know others who's beer have successfully carbonated within 5 days. The hotter the ambient temperature (i.e. sunny or humid days), the quicker the carbonation process will complete. However, don't try and rush it - rather stick to a steady, consistent process.
The first batch I made did exactly the same. The first thing to remember is that your beer is completely fine: Although its head is a bit "over the top", you might be able to manage this and make it completely presentable - simply turn down the temperature as far as sensible. Cool down the beer to anything close to 3 of 4 degrees Celcius - just don't go and freeze it. The colder the beer the more the CO2 dissolves into the liquid and the less foam you have when it's opened.
Also, when pouring your beer: Don't pop the cap vigorously or disturb the beer to much (especially if you know you've overcarbonated). Rather, just open calmly, start the pour slow, right up against the side of the glass. You should get an idea of the foam/carbonation. If you need more of a head (as you get closer to the end of the pour), simply lift the bottle further away and create more of a drop. This will excite it a little and create a bit of a head at the end.
A final thing to ask yourself is how much sugar you added to each bottle - and next time maybe add a little less. So we learn.
Firstly, if you see anything that resembles spider/cobwebs or any type of mold over the top of your beer (usually a white fluffiness) - then it's most likely got some sort of infection. Whilst some would try and recover from this (or find some other use for it) I'm not at that kind of expert level yet :-) so for me, best to rather not to bottle it.
Instead, if it has some crust-like layer or foaminess on top it's likely what is called the krausen. It usually presents as a tan / brown coloured array of bubbles/foam. If fermentation fully completes it usually drops to the bottom. However, this is not considered an infection and means your beer is still doing well.
My best advice here: If it looks OK (i.e. no cobwebs) siphon some into your hydrometer test tube, smell it, and taste it. If you find a heavy metallic taste, something that tastes like cardboard or heavy rotten eggs, I'd think twice before bottling. If you find it tastes somewhat like a warm, flat beer (give or take some flavours) - you are well on your way to a successful batch.