Mobirise

Steeping and Boiling    

This is the first step in the process.
The goals are to extract all the flavours and colours from the grains, extract the bitterness from the hopps and to sterilize the liquid. The whole process takes roughly 2-3 hours including any preparation and side-tasks.

Here I will explain the equipment basics for the brewing process, the ingredients you will require as well as the steps in the process. Whilst it may seem intimidating at first it will, in a relatively short time, become real easy to remember and do whilst watching your favourite show on television or whilst baking a loaf of bread on the side.

What equipment will you need?

The basic equipment requirements are outlined below (some are optional)
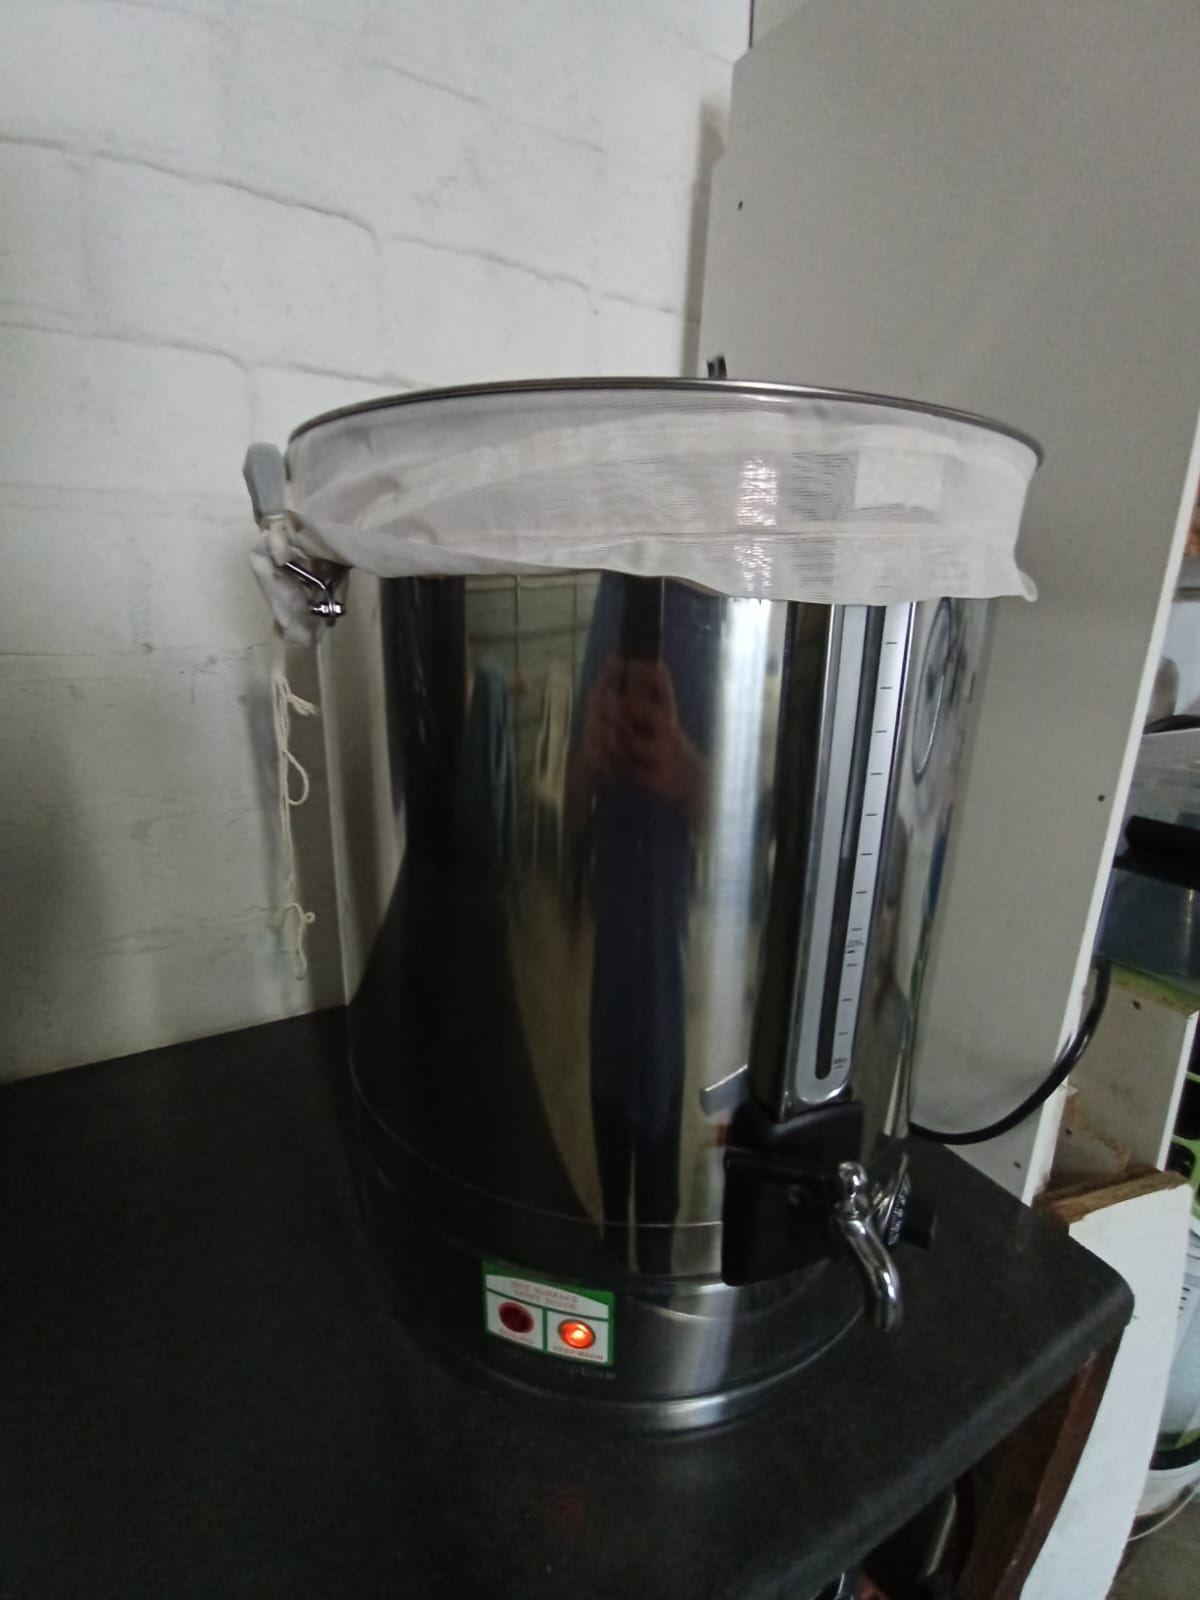
Brewing Kettle / Urn (REQUIRED)

You need something you can boil up to 25 litres of water in (considering that your grain will cause even more water displacement). Its preferred that it's made from stainless steel. Avoid alluminium as it wears / pits over time and may give off chemicals you don't want in your beer.

In the picture above you'll see a basic 50 litre stainless steel coffee urn. It offers a built-in heating element, a tap and temperature control knob

This easily supports a full yield recipe using between 4.5 and 5.5 kilogram of grains.
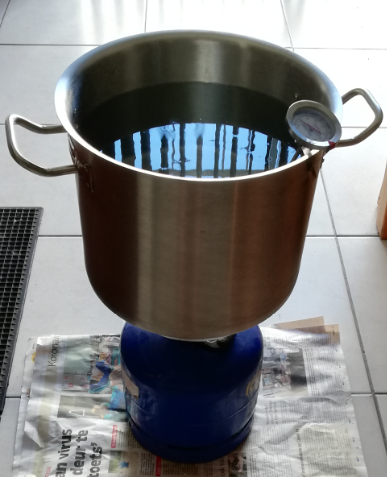
15L Pot (ALTERNATIVE to an urn)

If you don't feel like investing in an urn just yet, you can go for a basic stainless steel casserole pot like the above (with a lid).

Again, avoid alluminium. 

You'll need a heating solution if you go this route - above you'll see a standard Cadac gas burner with cooker head. 

Depending on the size you choose, you may have to reduce the recipe ingredients proportionally. The 12 litre pot would support a recipe that yields half (that is 2.25 kilogram of grains).
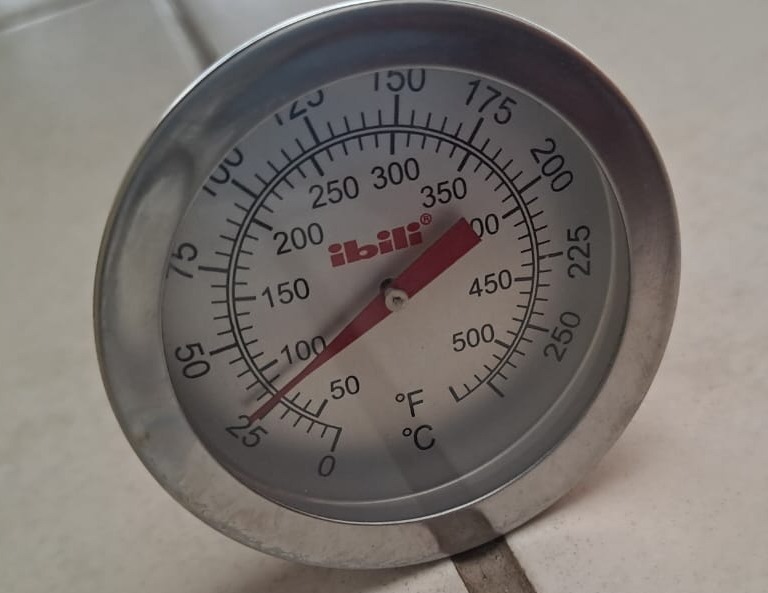
Thermometer (REQUIRED)

You get all kinds of different types. I opted to use what was already available in the kitchen.

This is a simple sugar thermometer that starts at 25 degree celcius.

Ideally you need to be able to measure between 25 degrees celcius and 100 degrees celcius. You also need something that will allow you to measure with an accuracy / increments of at most 5 degrees celcius.

A digital thermometer might be the best option, but I can attest that the above works well enough.
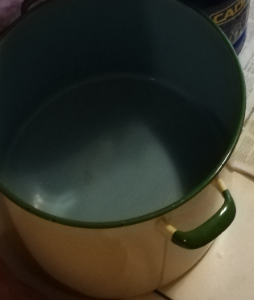
Rinsing (Sparging) Pot/Bowl/Basin
(REQUIRED)

You looking for a wide mouth pot - something you can work in from the top.

You won't need to heat anything you put in here. It will be used to rinse / wash /sparge the grains after the boiling process.

You will use it once during the whole process and it doesn't need to be made of any particular material.

It's going to become wet and sticky (because of the grains / sugars). So, once your done with it, I'd suggest you get is washed out and stored away before the little ant critters decide to pay you a visit for sweet treats.
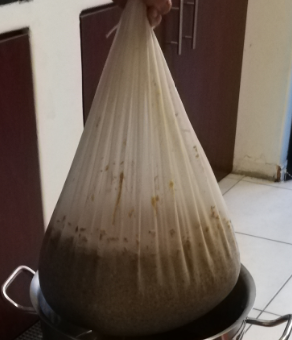
Brew Bag (REQUIRED)

You'll use this like a massive tea bag. You put all your grains inside and steep it in your kettle / pot.

I've heard them made of cheescloth and lace. They are relatively cheap to buy but I've opted for a home-made version using lace (like you use to make lace curtains).


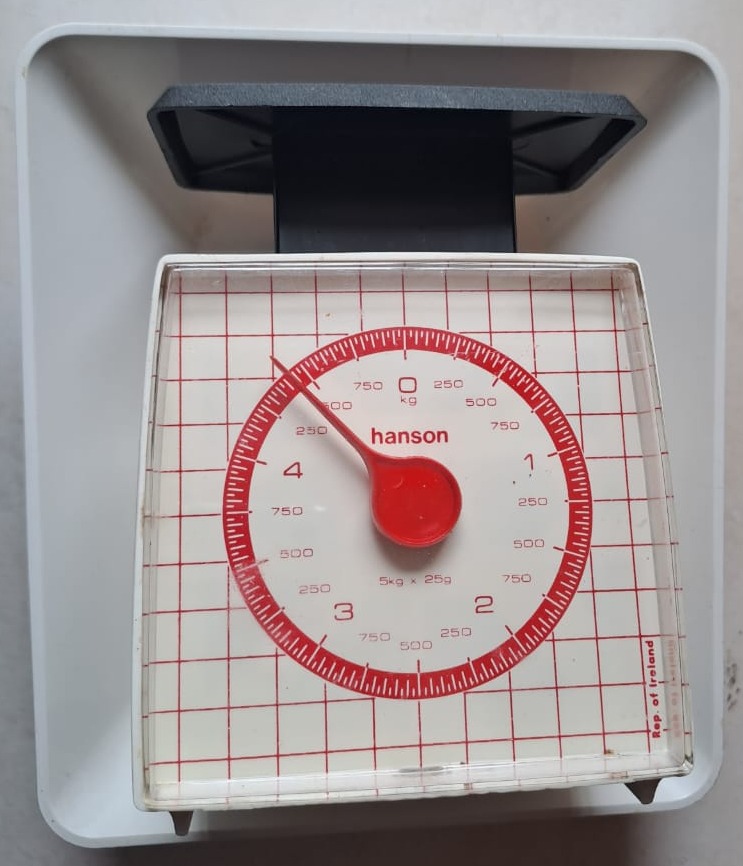
Scales (both Kilograms and Grams)
(REQUIRED)

You will need to be able to weigh two things.

Grains: typically anything between 2.25 and 5.5 kilograms (for a half or full recipe)

Hopps: typically anything btween 25g and 100g (depending on the choice of hopps)

I opted for 2 basic kitchen scales - as I already had them in the kitchen.

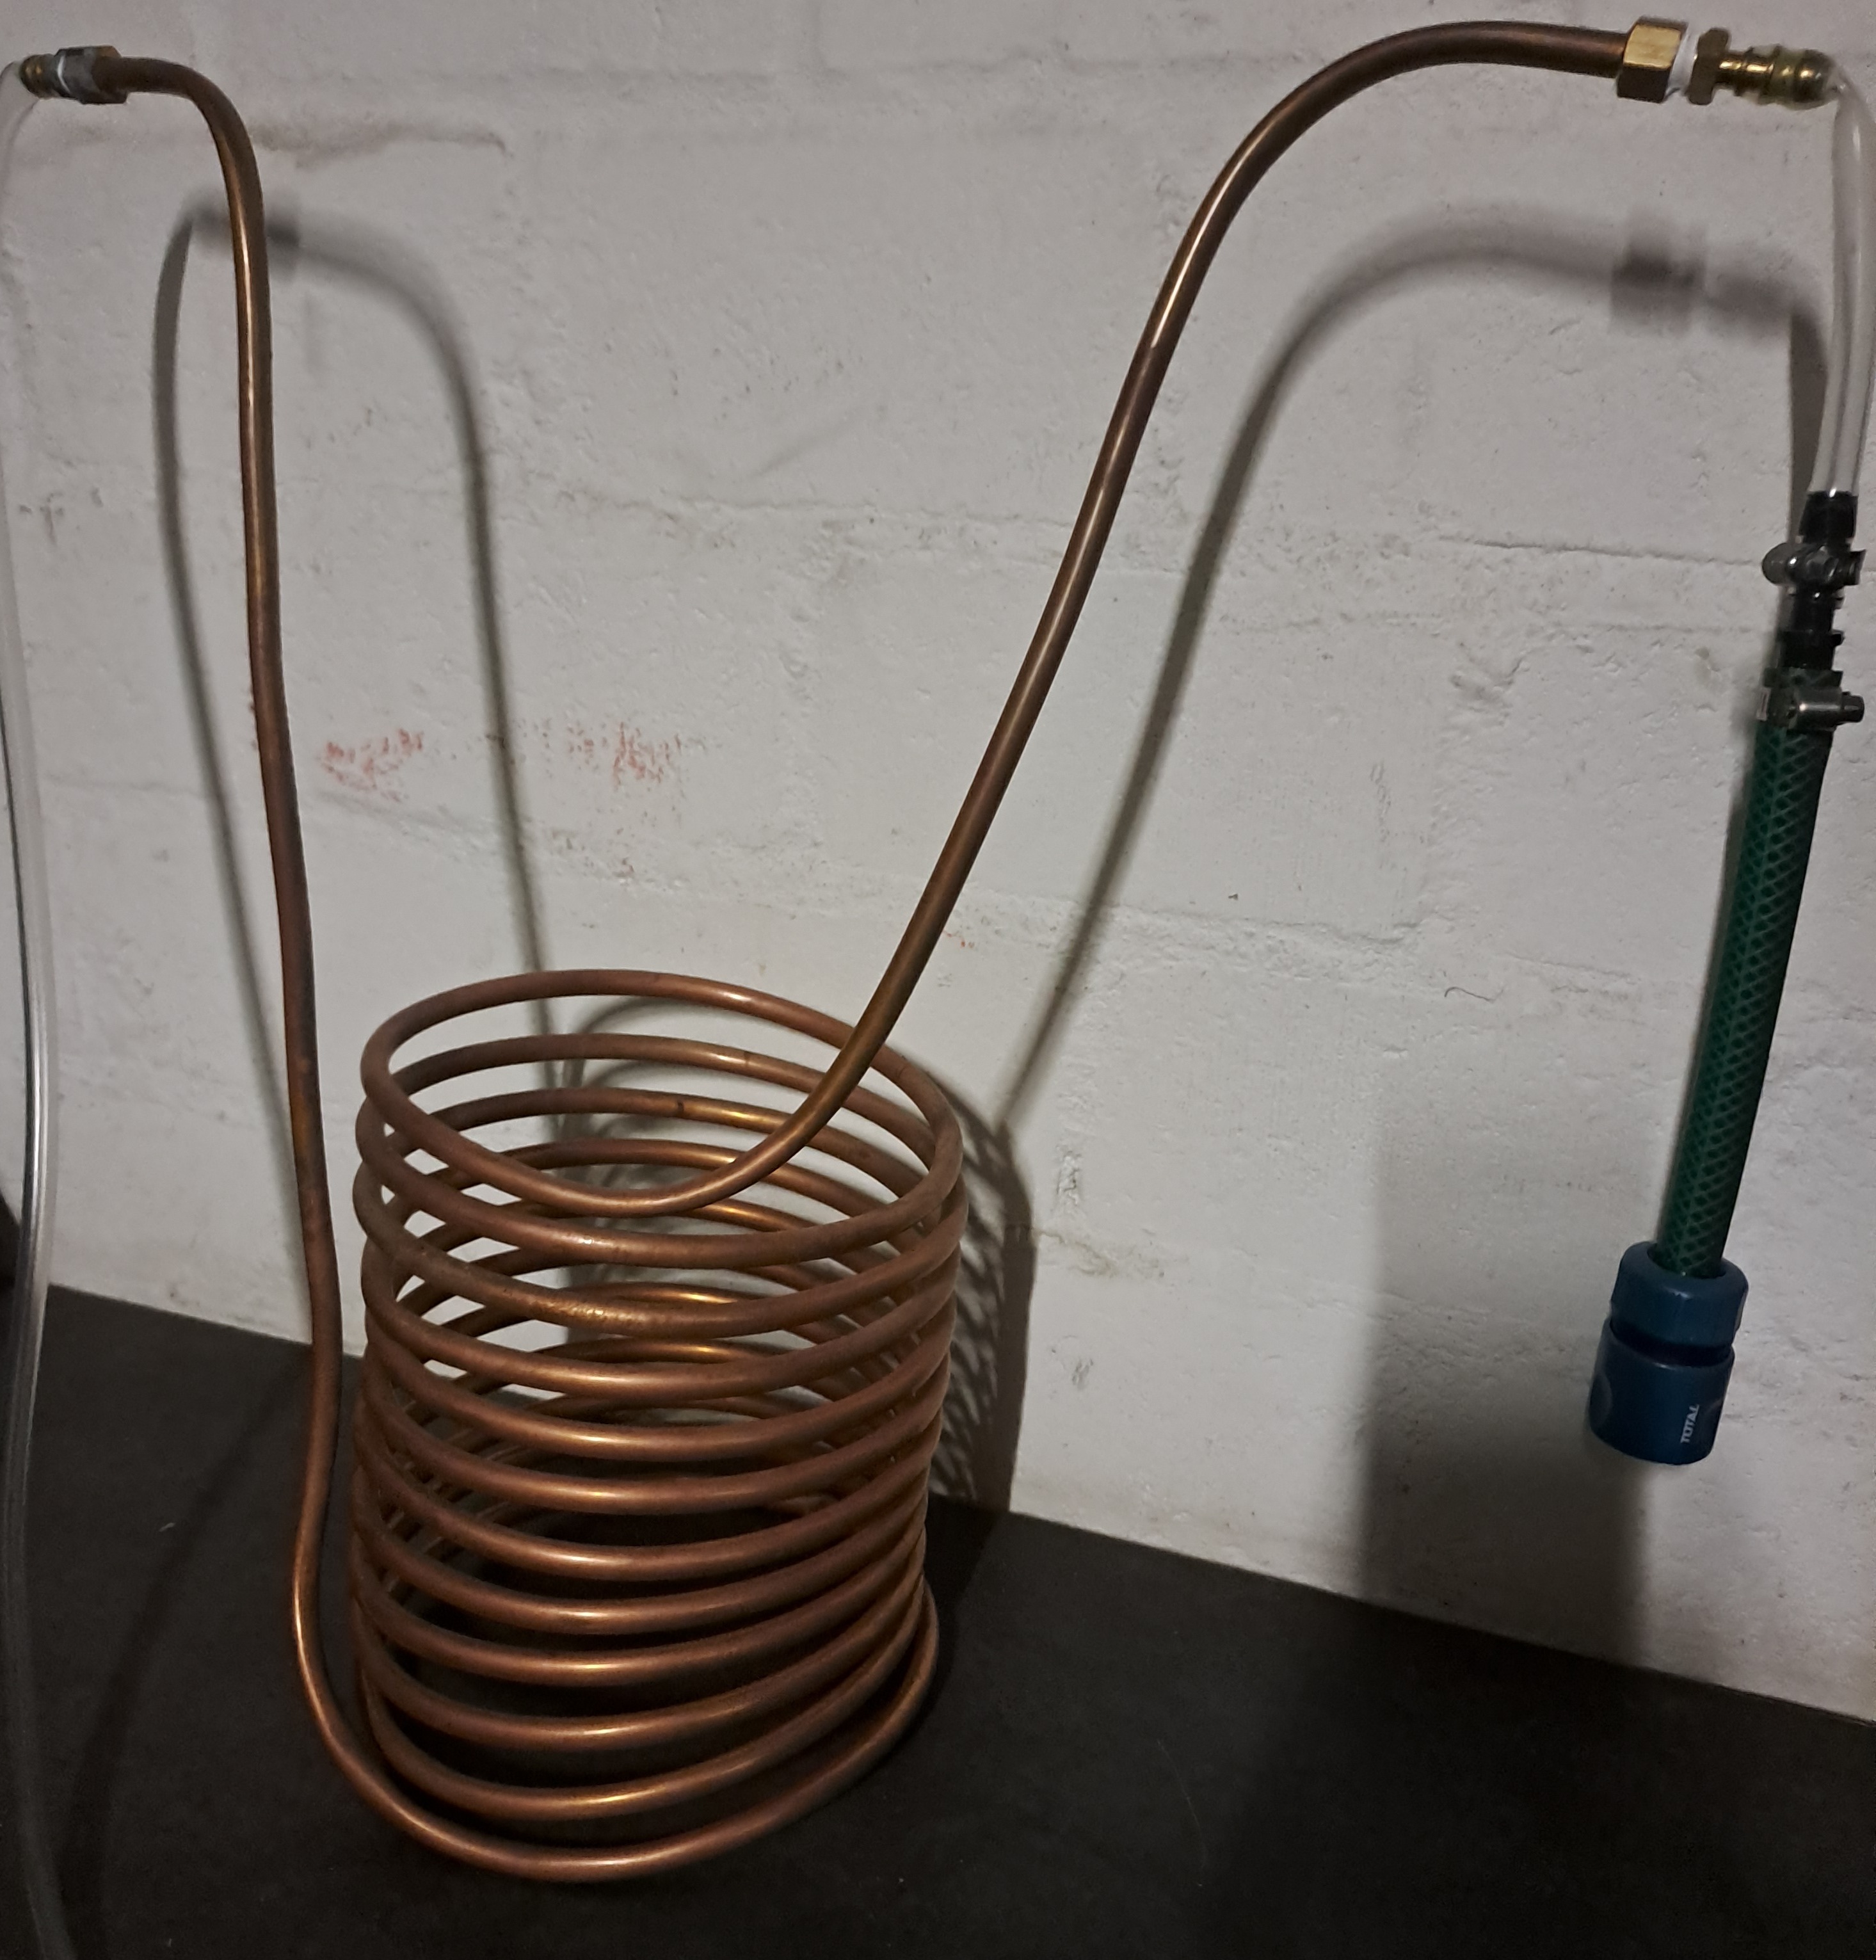
Wort Chiller (OPTIONAL)

A wort chiller is tool used to cool down the wort after the boiling process. It is usually made of stainless steel or copper tubing that has been shaped into a spiral and allows water to flow through it from one end to the other. 

The idea is to cool down your wort as quickly as possible to prevent the beer from becoming hazy once bottled.

I didn't have this luxury on my first few attempts and it wasnt a train-smash. However I eventually constructured my own one and it does indeed help with cooling things down quicker.

Basics (REQUIRED)

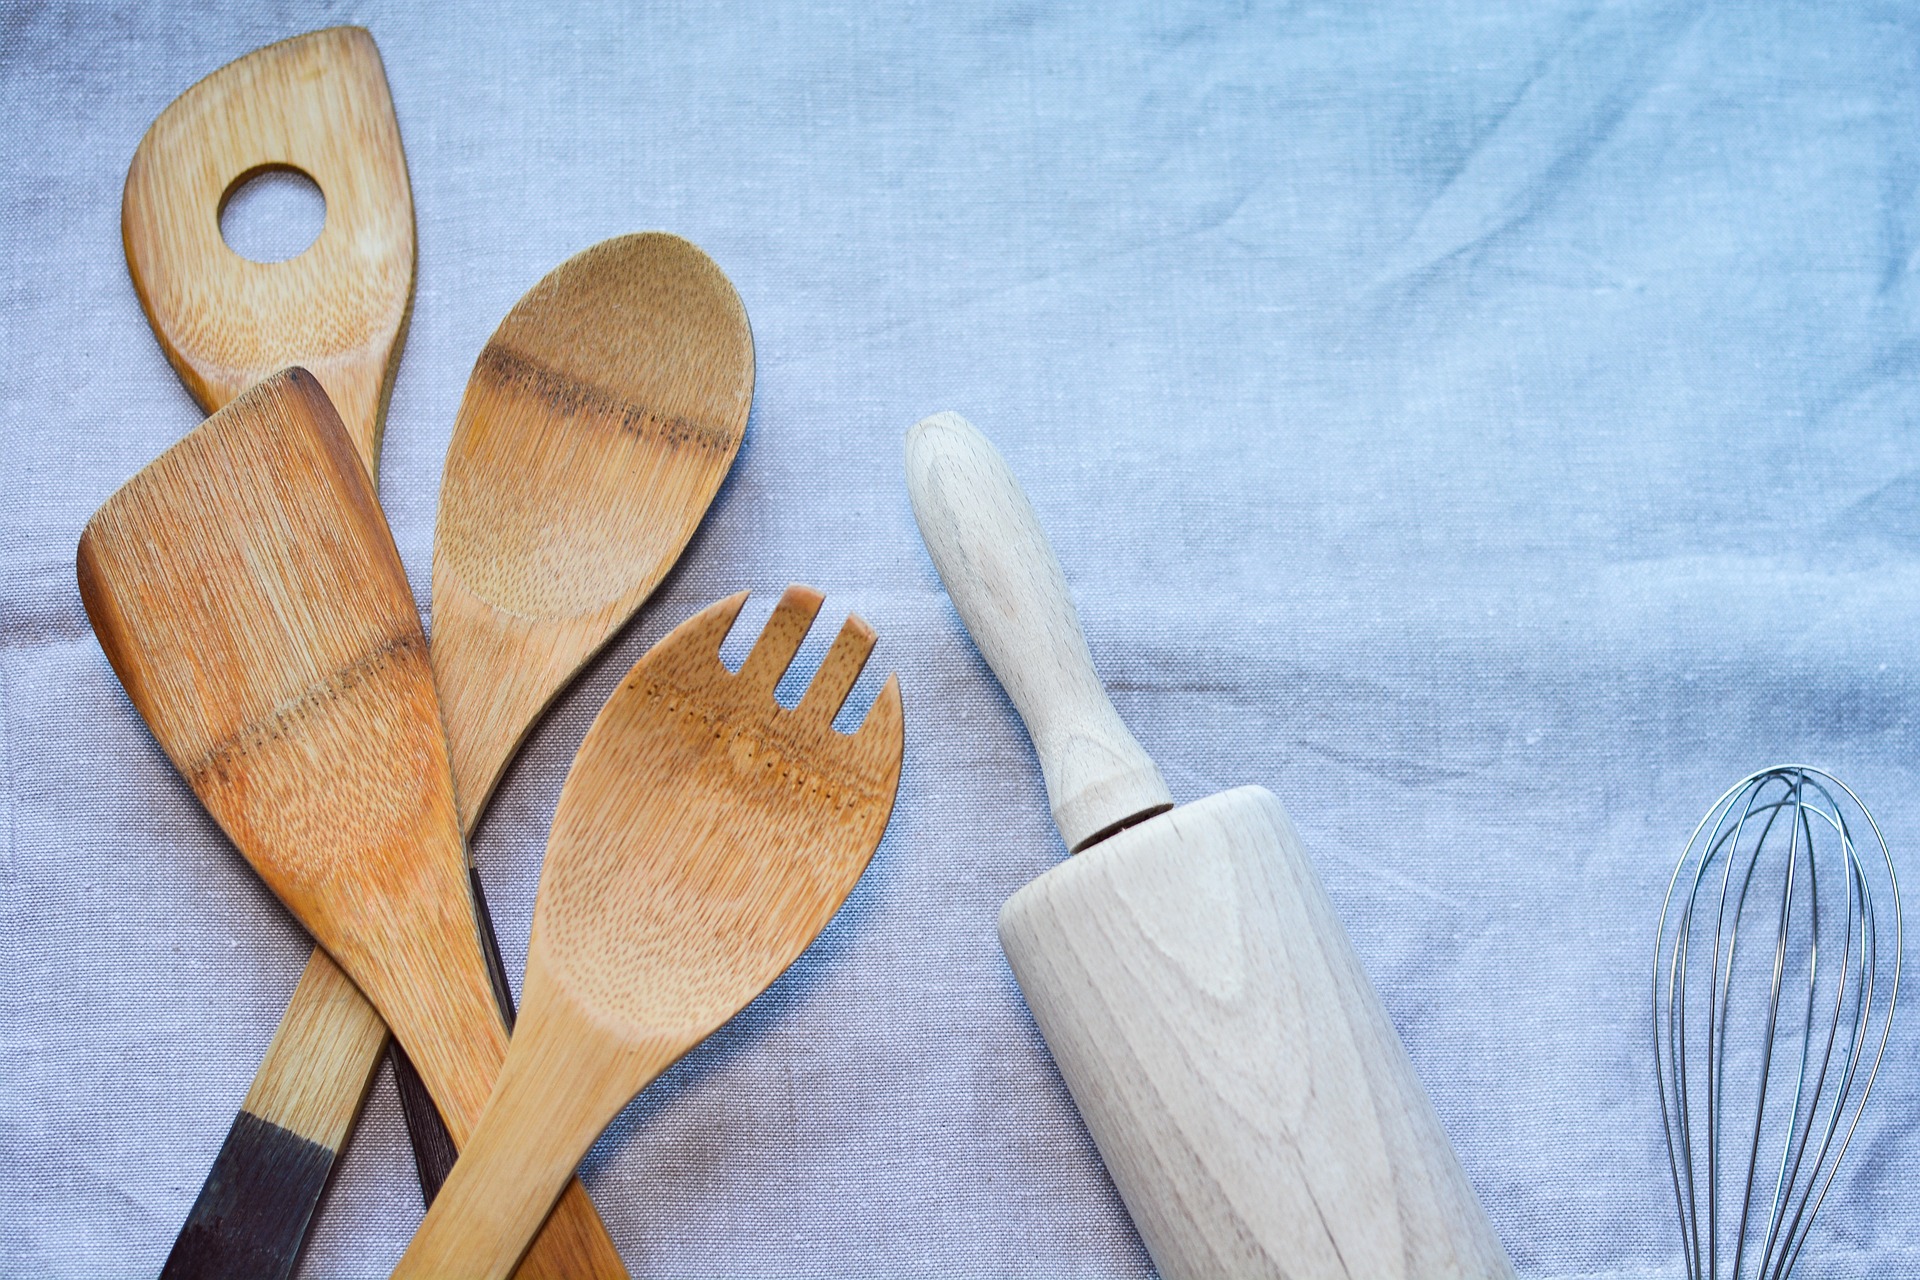
Finally, a few basic kitchen utensils :-)

1. A 1 litre measuring jug (glass or plastic)
2. A stirring utensil (now if you go reading... there are lots of opinions about spoons.. choose your own. Stainless or wooden)
3. Some heat resistance kitchen gloves / mitts.
4. Something to keep time with (mobile phone, wall clock, wrist watch for those like me who still wear one)
5. Some patience and discipline.

What ingredients will you need?

Here follows the basic ingredients for brewing your own beer.
These may differ based on the type of beer you aim to brew, but the fundamentals remain the same.
This recipe will allow you to make a very simple pale ale.
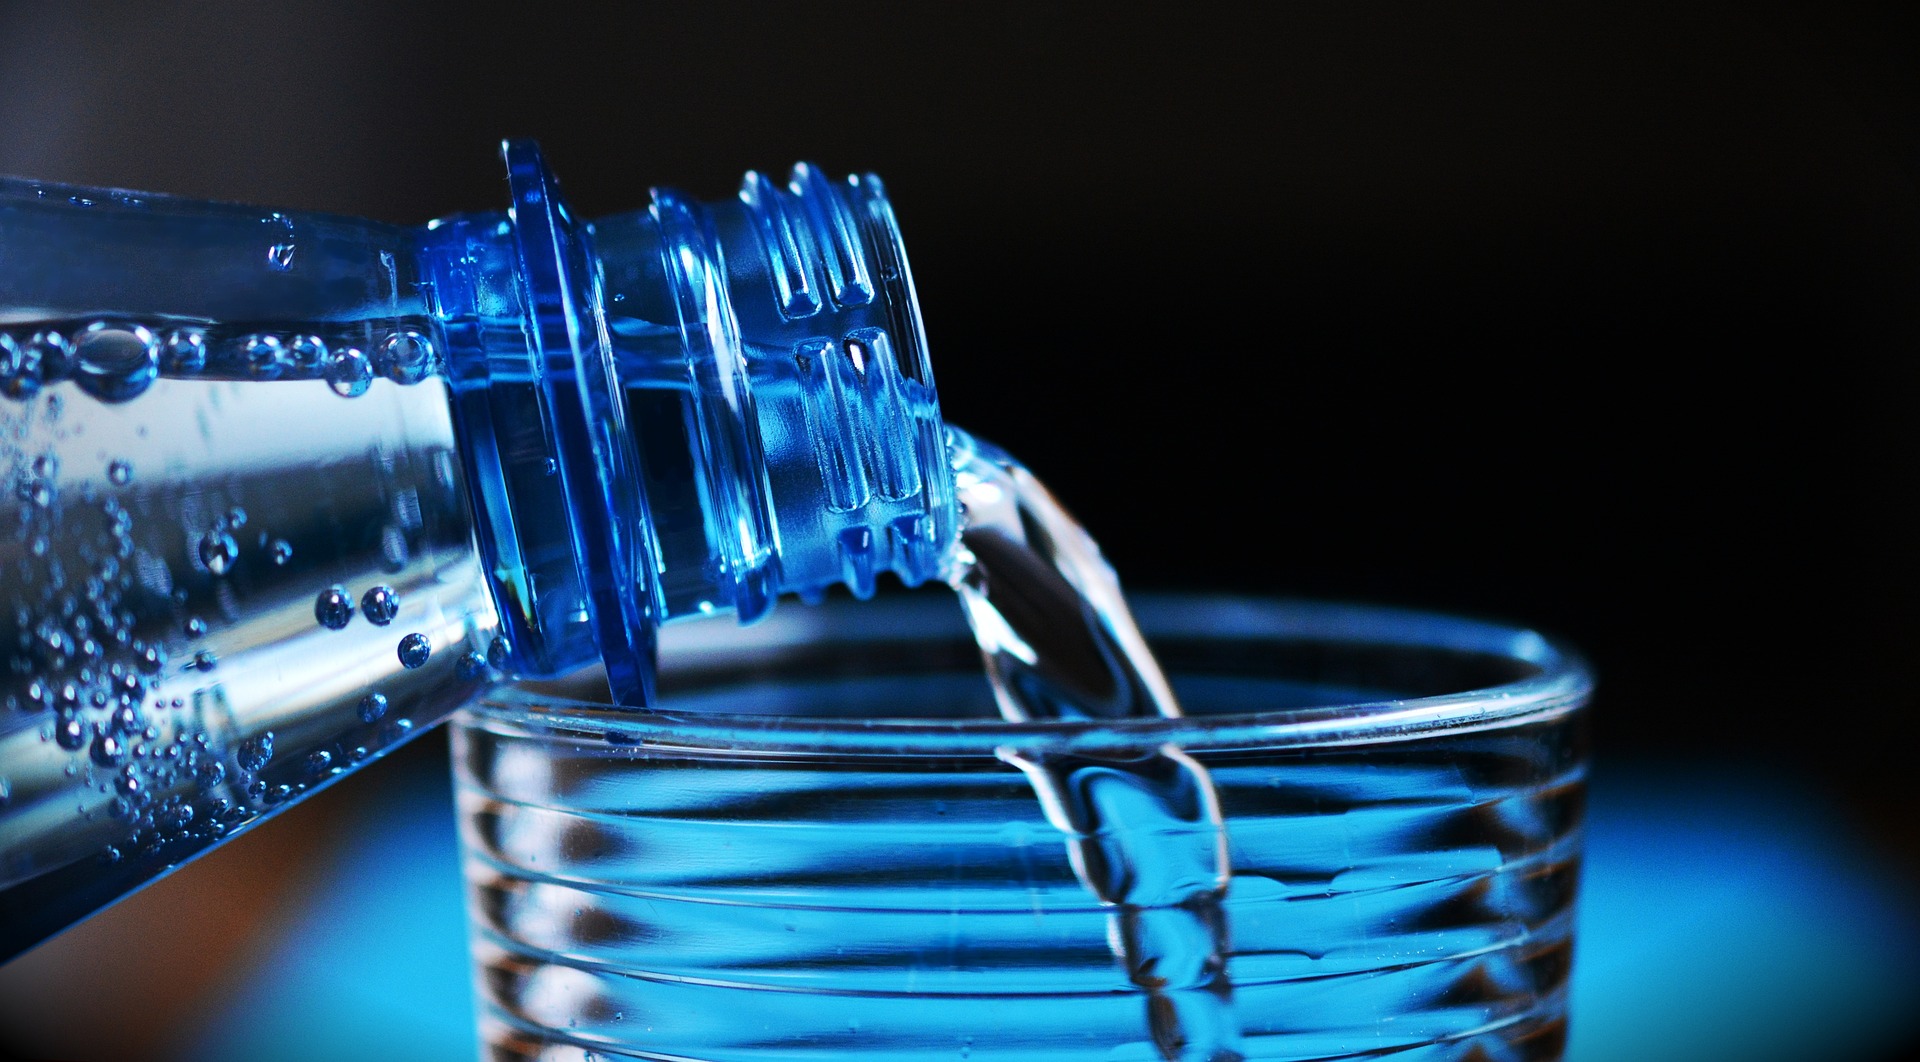
Water (REQUIRED)

Yup, it's required. you might struggle without :-) Choose your own source.

Whilst there are various opinions on this in terms of taste and the effects of things like chlorine, I've used both bottled water purchased from the store and I've used normal tap-water. To be very honest I could not detect any difference in the result. So if you're lucky enough to have good quality tap water, feel free to use it.

For this recipe you will need 25 litres for the boiling process and probably another 2 liters for the rinsing process. 

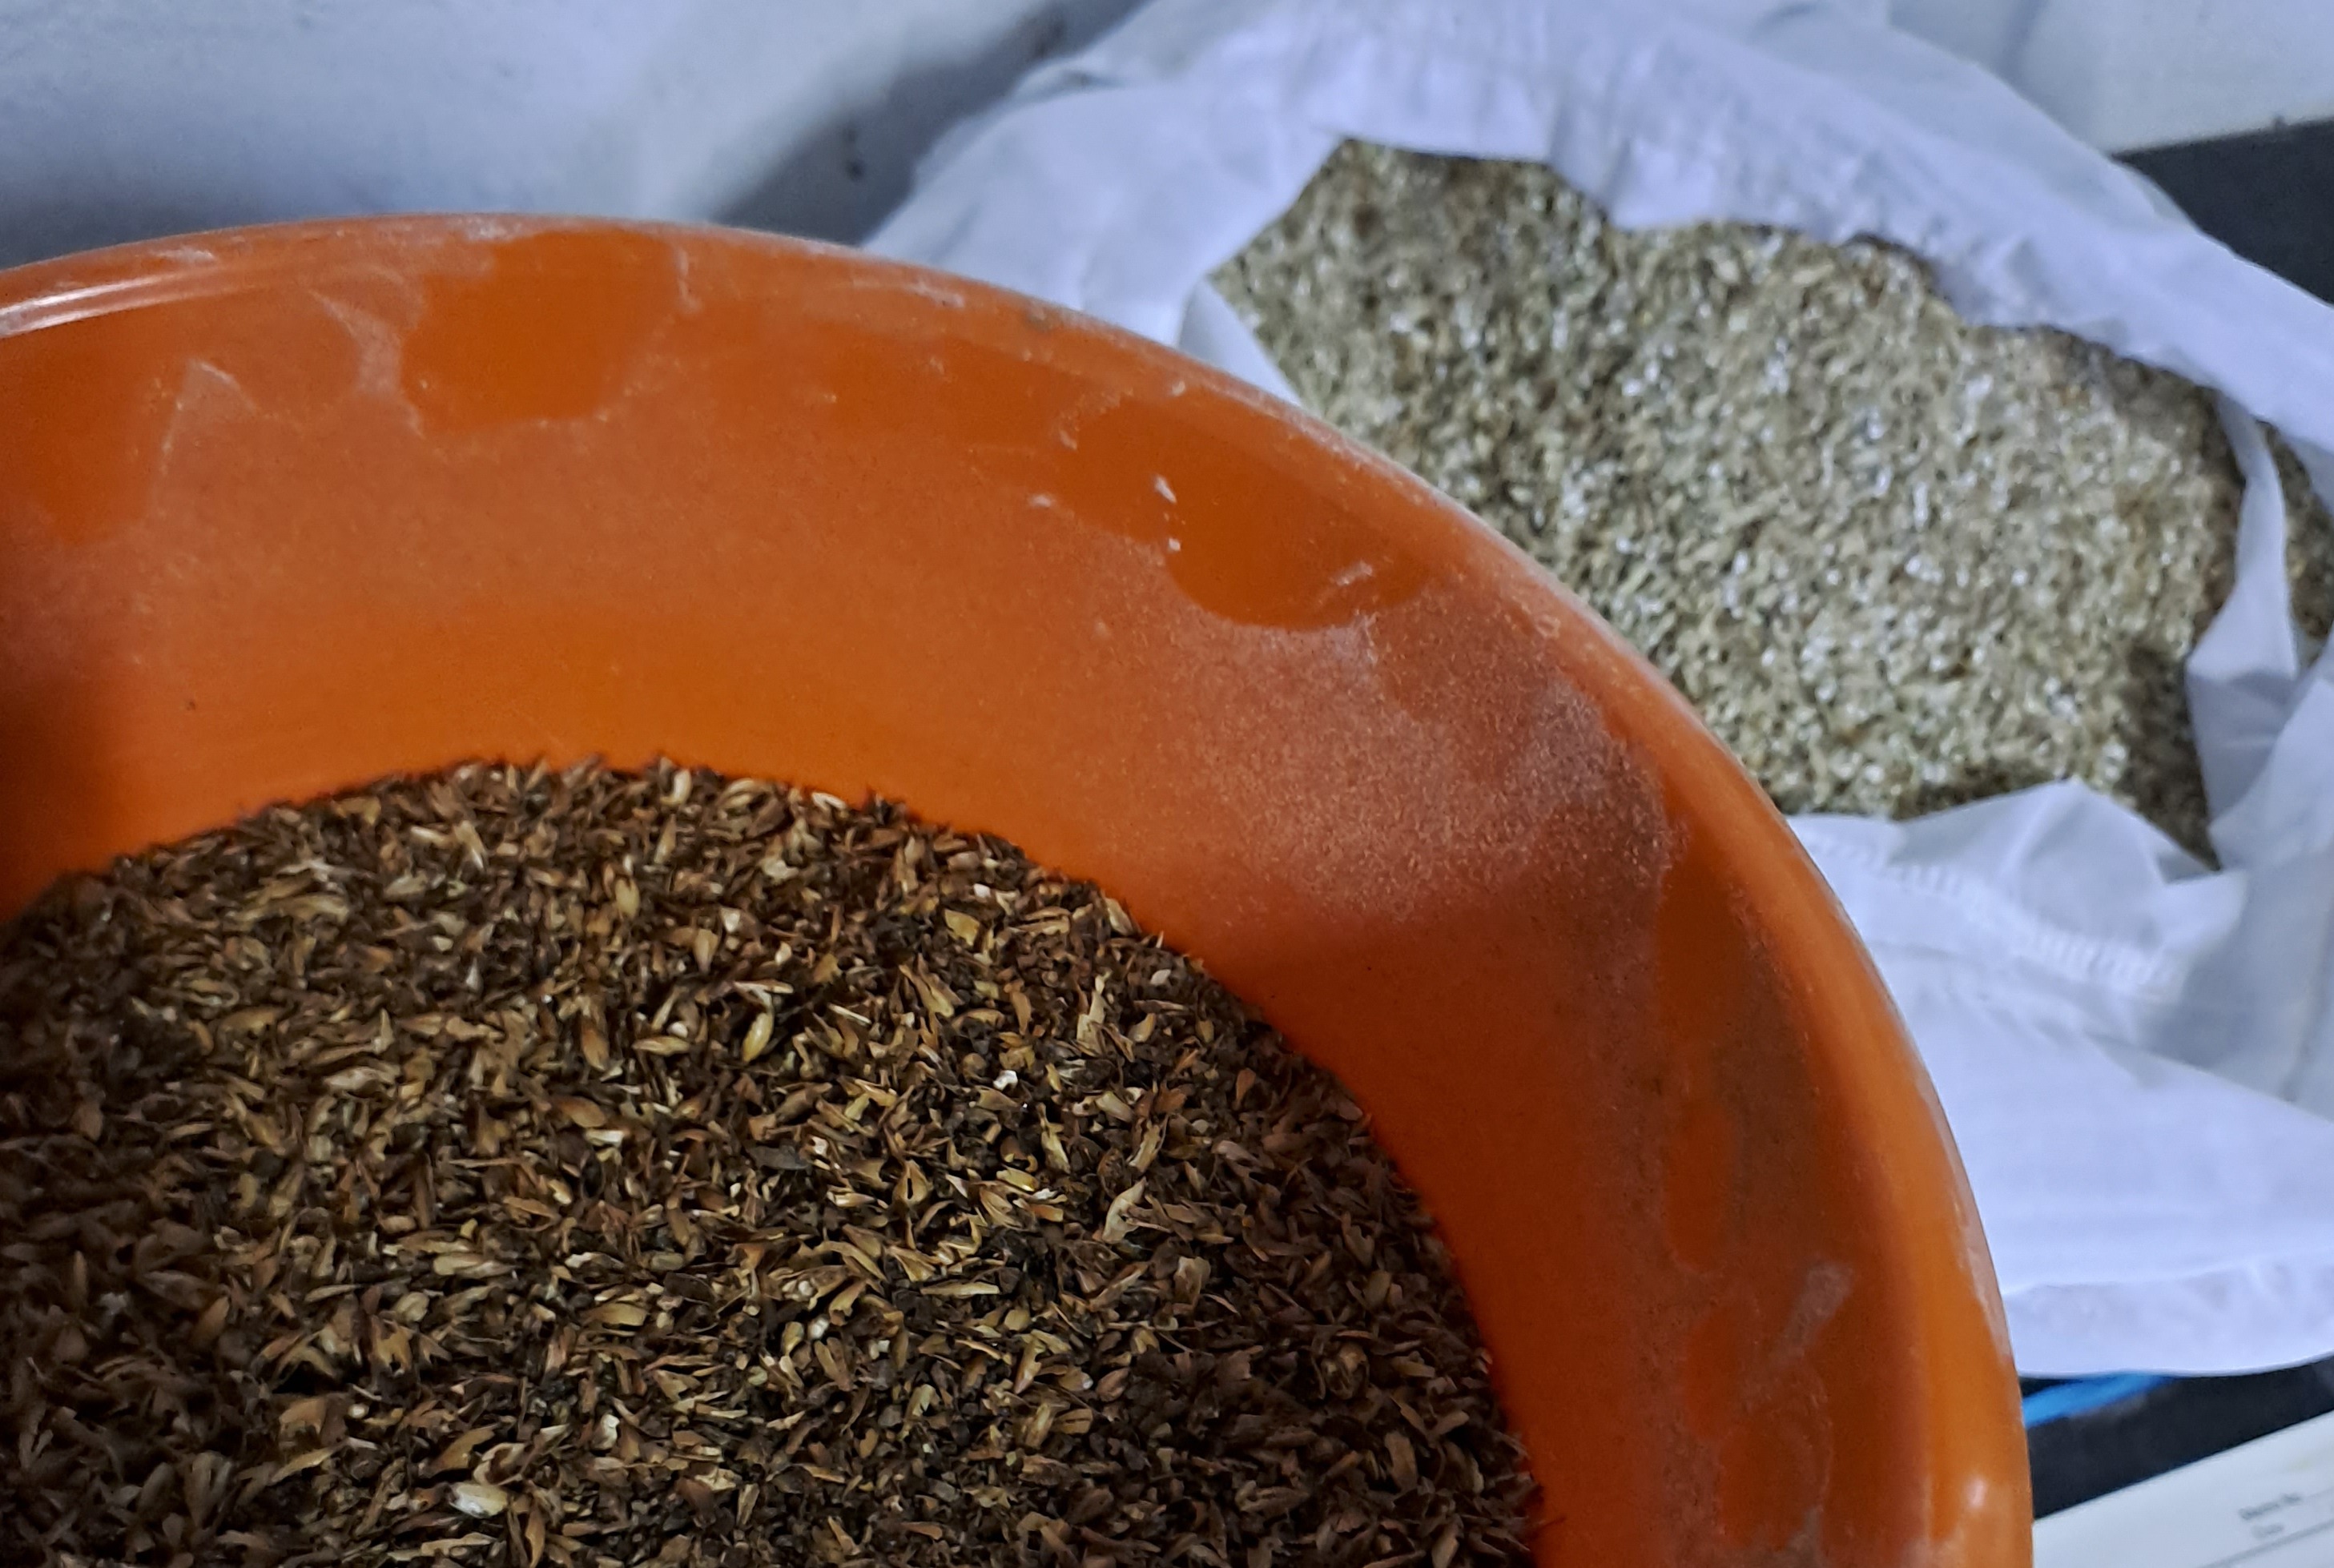
Malted Barley (REQUIRED)     

This is barley grains that have been soaked in water, allowed to sprout, dried and milled into a course texture. And "No!", you don't have to do all this yourself (although it's an interesting experience). You should be able to purchase this from your nearest supplier of brewing equipment and ingredients. It's one of the three main ingredients that will determine the look and taste of your beer.

For this full recipe you will need 4.5kg of Pale Ale malted barley.


Hopps (REQUIRED)     

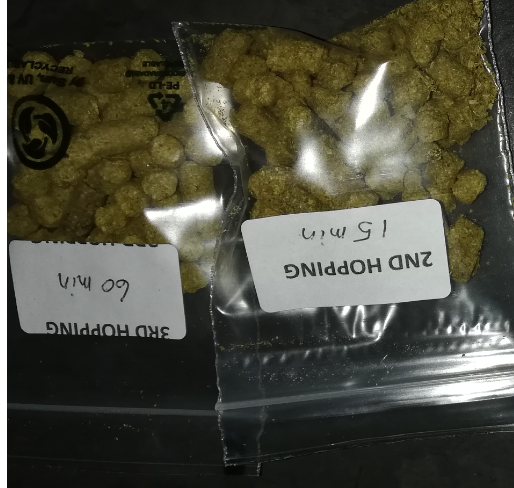
The second of the three main ingredients - which purpose is to provide flavour, aroma, bitterness. The easiest way would be to purchase this in the form of pellets (as in the picture) from your nearest supplier.

For this recipe you will need 55 grams of German Cascade hopps in total. You'll split this into 25 grams and 30 grams (to be used at different stages). 

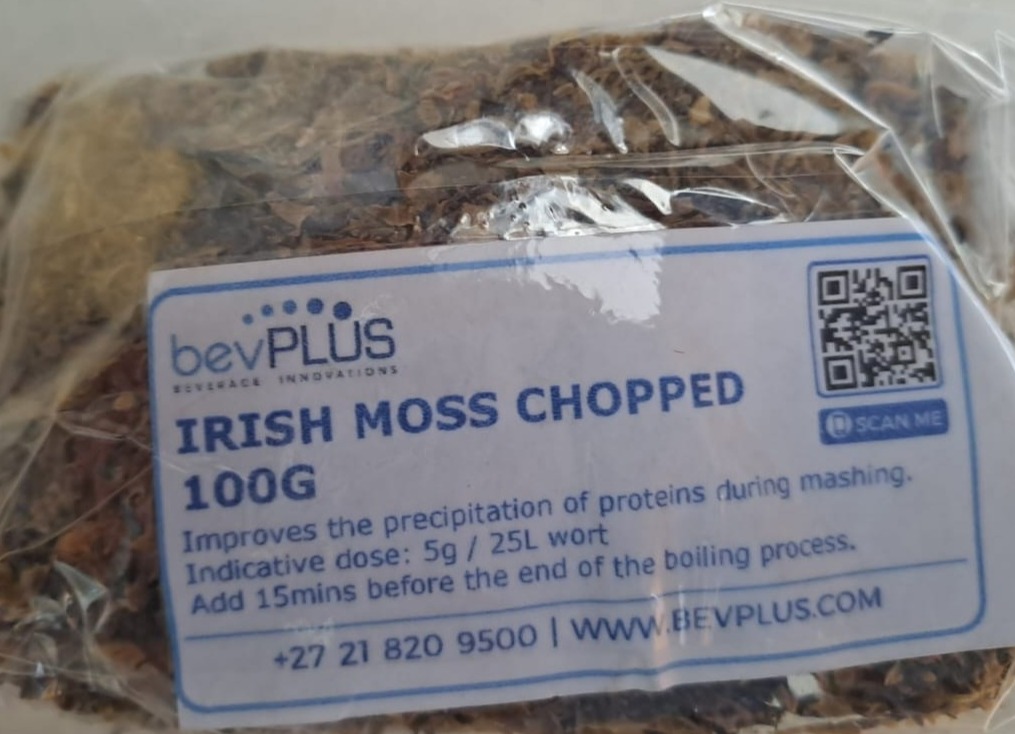
Irish Moss (OPTIONAL)

This is completely optional. I only started using it after 2 years of brewing and while it is preferred, you can make your first brew without it. 

It's purpose (as a fining agent) is to have the particles (from grain and hopps) separate out of the liquid, clump together and drop to the bottom of your kettle. This results in a clear and attractive looking beer.

For this recipe you will need 5 grams only.

What do you need to do?

This process assumes that your are making the ale recommended here and using full recipe using 25 liters of water and 4.5 kilograms of grain. It also assumes a two phase process. The first phase of the process is the steeping process (like making a tea). This process takes roughly 45 minutes. The second phase of this process is the boiling process. It takes roughly 60 minutes. So in total you are looking at 1 hour 45 minutes (excluding the time it takes to do some things in between). Ready? Lets go.

Fill your kettle with 25 liters of water. Our aim is to end up with roughly 20 litres of beer (so we take into account that some of it will evaporate). Heat the water until it reaches about 65 degrees celcius. Aim to keep it between 65 and 70 degrees celcius for the whole step of the process (preferrably closer to 65).

Once you've reach the desired temperature, add your 4.5 kilograms of milled grains into your brew bag and lower it into the water (hook the bag over the edges of the kettle and tie it down so it doesn't drop and touch the bottom of the kettle where the heating element is). Take your special spoon and make sure the grains are hydrated effectively by moving them around gently. This just ensures that there aren't any dry clumps in the bag.

Start your timer / keep time on your clock or wristwatch and follow the next step when you reach 45 minutes. You can check bag every now and then and give the grains inside it a light stir - but nothing too crazy.

Now, at the 45 minute mark, remove the brew bag with the grains and place it in your rinsing pot / bowl / basin. Take a measuring jug and rinse the grains with the extra 2 litres of water you have on the side. Rinsing simply implies puring the water over-and-through the grains to ensure that you get the good stuff out between the grains and into your rinsing bowl. Whilst some may disagree, you can then squeeze some of the moisture out of the grain bag in order to retain more of the concentrated liquid (careful not to perforate the bag).

Note: The bag is HOT. It's recommended you use heat resistant gloves and perhaps get someone to assist you.

Remove the bag with the grains from the rinsing vessel and add the liquid from the rinsing vessel back into your kettle (aiming to get to +- 25 litres- - but no more).

Now, turn your kettle up to a BOIL (that is 100 degrees celcius). If you got a lid for it, put it on so that the temperature can rise sooner. Keep track of the temperature using your thermometer. This will take a while and the last few centrigrades will take the longest. To be fair, when you've reached 90 degrees, you can start with the next step. Now, once the kettle comes to a boil (your temperature is roughly 100 degrees), set your timer for 15 minutes.

At the 15 minute mark, add 25 grams of hopps into the boil. Keep in mind that the hopps will great some froth in the boil and may result in it boiling over - as such, don't close your kettle lid completely - instead put it on slightly skew and check back frequently with your special spoon to stir and remove the boil residue from the top edges back into the liquid.

Note:
The first hopping will add to the bitterness of the beer. The more you add early to the boil, the more bitterness. 

Once you've added the hopps, then set you timer for 30 minutes (marking the total 45 minute mark).

At the 45 minute mark (or after the 30 minutes) (and if you have a wort chiller), put your wort chiller in the boil (only the copper/ stainless parts - none of the plastic piping). This will allow the boiling process to sterilize the chiller. If you don't have a wort chiller, then skip this step.

Also, at the 45 minute mark (or after the 30 minutes), if you decided to use Irish Moss, sprinkle the 5 grams of Irish Moss into the boil. If you don't have Irish Moss, then skip this step.

Set your timer for 15 minutes (marking the full 60 minutes).
At the full 60 minute mark (or after the 15 minutes), TURN OFF your kettle.
Once the kettle is turned off, add your last 30 grams of hopps. 
Note: The final hopping will add to the aroma of your beer and have less of an impact on the bitterness thereof.

Now... you have to cool the wort down and get as close as possible to 25 degrees celcius. I've struggled at times (especially in summer months to get it well below 30 degrees and I've pitched the yeast at around 28 to 30 degrees without any problems. However it is recommended to aim for 25 degrees). In terms of cooling the wort down, you will have a few options here:

a) If you have a wort chiller, leave it inside the kettle and connect your wort chiller to the tap and let the water flow through it. It should take about 30-60 minutes to get it down from 90 degrees celcius to 40 degrees celcius. After that, using normal tap water, it will take some time to get it down to 25 - 30 degrees. If you can source some colder-than-tap water (example using ice water and a water pump, you may endeavour to do this). Once the wort has been cooled, continue with the next section on fermenting. 

b) if you don't have a chiller and you are using a normal casserol pot, then close the lid and clamp down the lid with something similar to some "foldback paper clips". The idea is to prevent unwanted bacteria getting in there. Fill your sink with a little water and lots of ice, and place the pot in it. Leave it overnight and continue with the rest of the process the next morning.
Note: whilst many may disagree with this, I can confidently say I have never had any unwanted critters (bacteria) in my brews.

c) if you don't have a chiller and you are using a kettle, then it would be ideal to have an old spare fridge. Again, close the lid and clamp it down. Put the whole kettle in your fridge and leave it to cool down to room temperature (25-30 degrees) over night. Continue with the rest of the process the next morning.
Note: whilst many may disagree with this, I can confidently say I have never had any unwanted critter sin my brews.  

The above concludes the boiling process. The next step will involve preparing your fermentation vessel, yeast and settling down for the long wait (which really isn't that long) :-) See here.

FAQ

Mash is a mixture of grains and water.

Wort is the result of steeping & boiling the mash. It contains the sugars that were extracted from the grains during the boiling process. This is the starting point for making your beer.

Yes. The temperatures during the steeping / boiling process will determine which kinds of sugars are extracted and at what quantities. Going too hot or too cold will result in less fermentable / the wrong sugars.

Yes. The temperatures during the fermentation process must support the yeast in doing their job (that is consume the sugars and produce alcholol and carbon-dioxide). Temperatures that are too low may result in the yeast going dormant or dying. High temperatures may result in unfavourable flavours.

Sterilization tries to remove ALL germs whilst sanitization aims to reduce the level of germs to an acceptable level.

Yes! I would encourage you to make changes to the recipe. Play around with the types of grains, hopps and yeast. Different styles of grains, hopps and yeast will yield different tastes and aromas.

© Copyright 2024 Trueshift. All Rights Reserved.