free web templates
Pale Ale

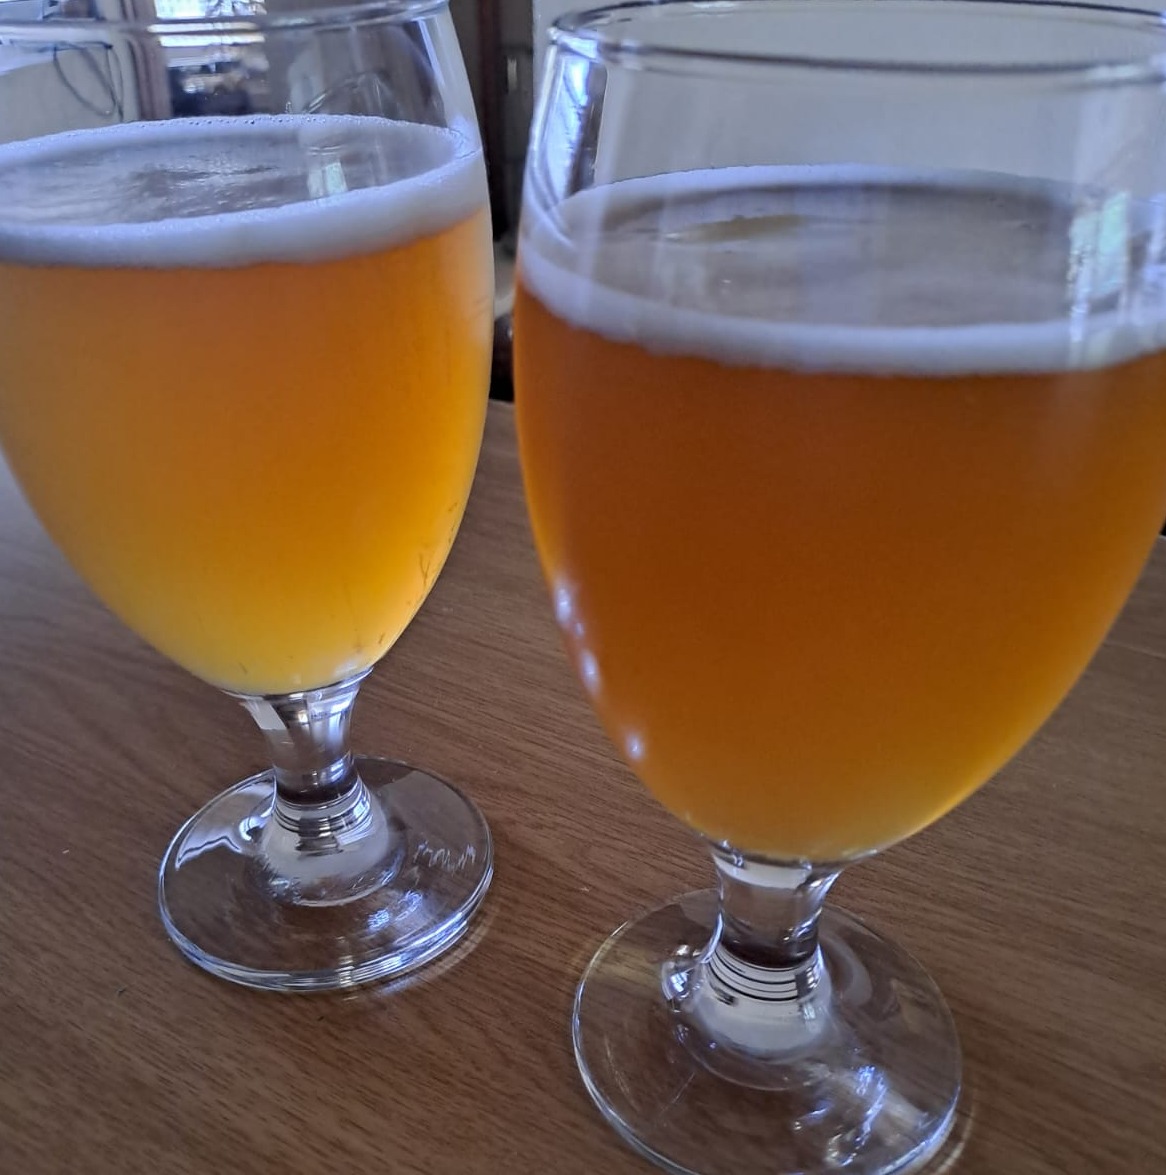
A recent Pale Ale with a fair amount of initial head, still hanging around after a while. Less clear but no particulates drifting around.
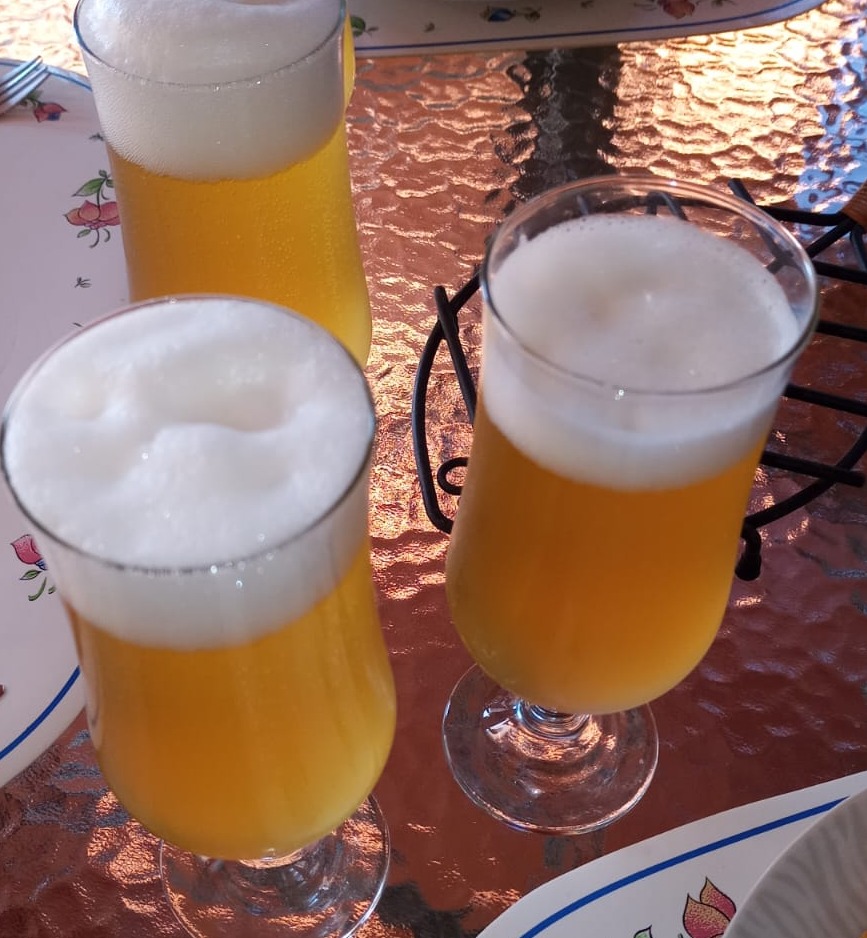
Lager

One of my first lagers. A good sustaining head and a crisp, clear taste and experience.
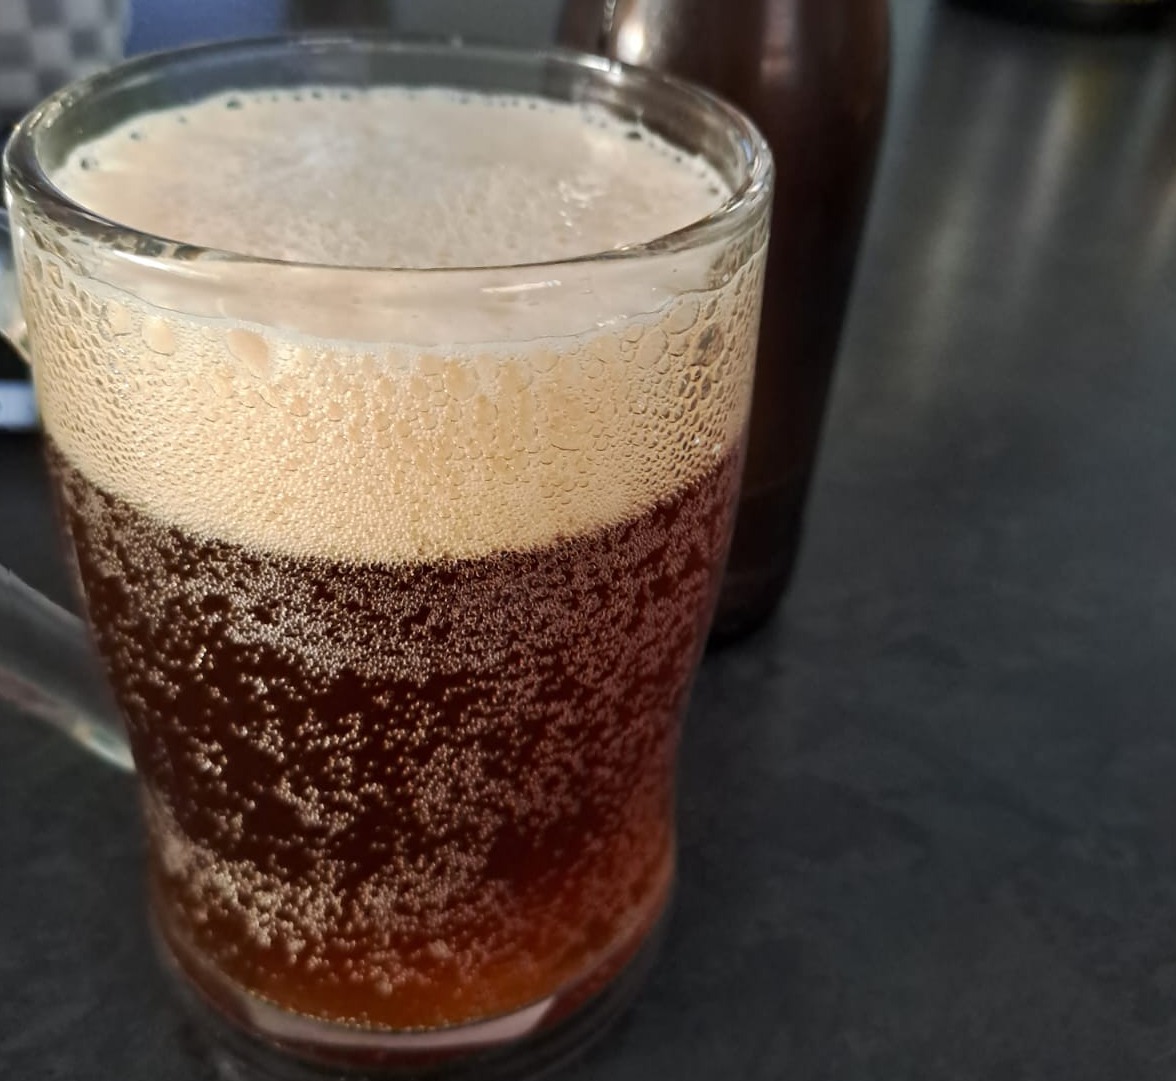
English Ale

A recent English Ale - using specialized English Ale yeast, a Special W grain on top of the base grain as well as Irish Moss. At first it didn't carbonate well - so I left it another 5 days and ended up with the above.
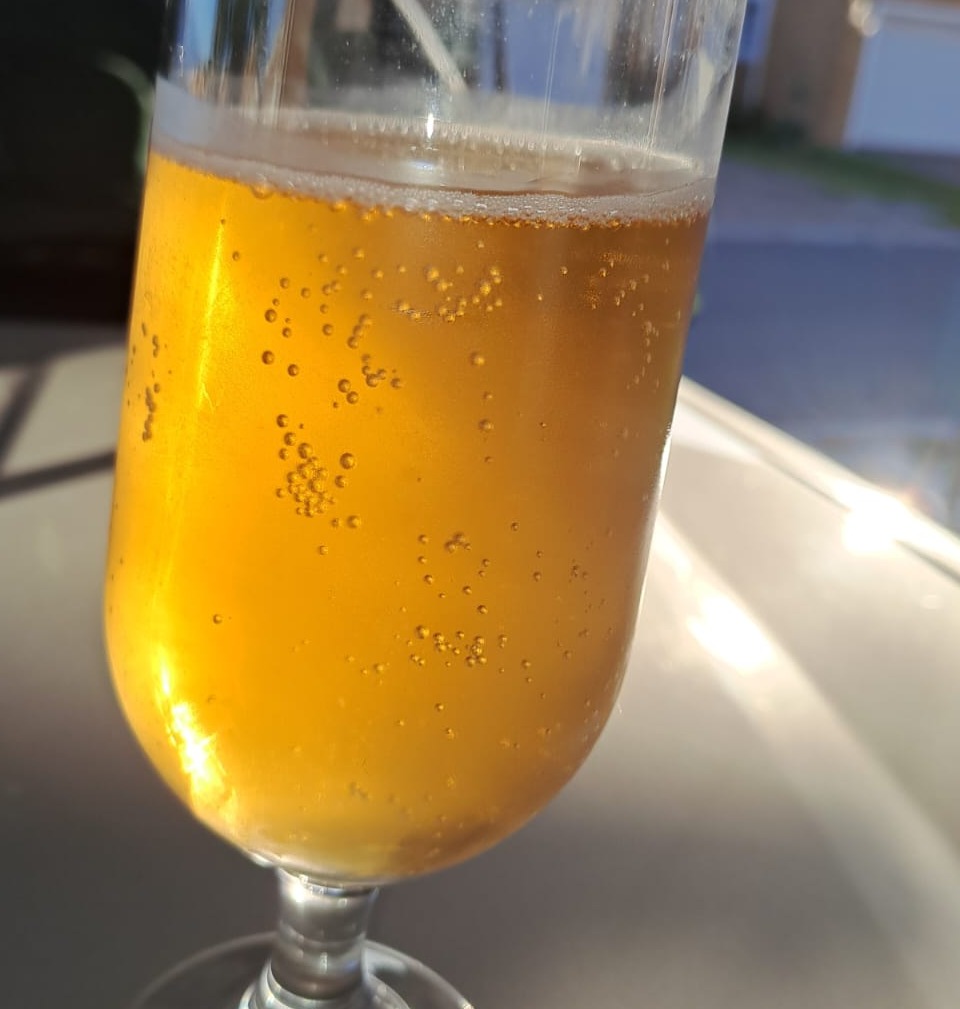
Pale Ale

The first time I used Irish Moss - ended up with an amazing result given this high-clarity beer.
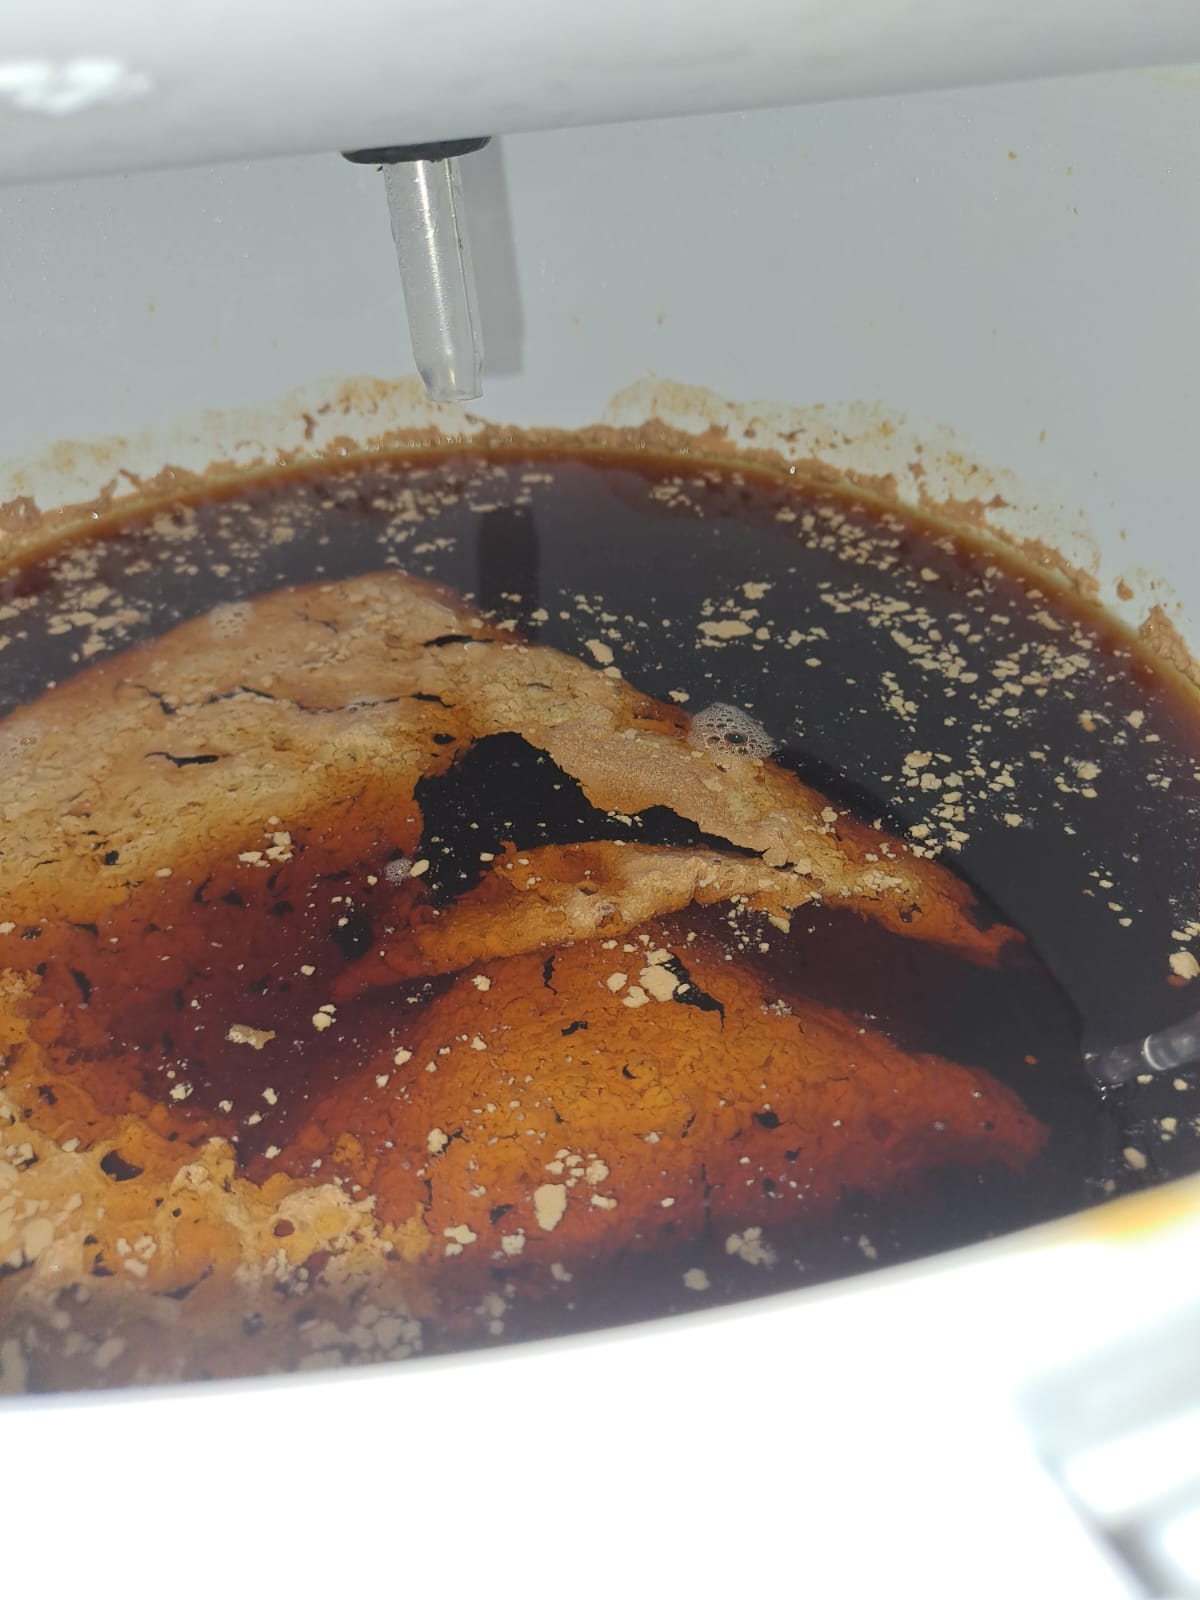
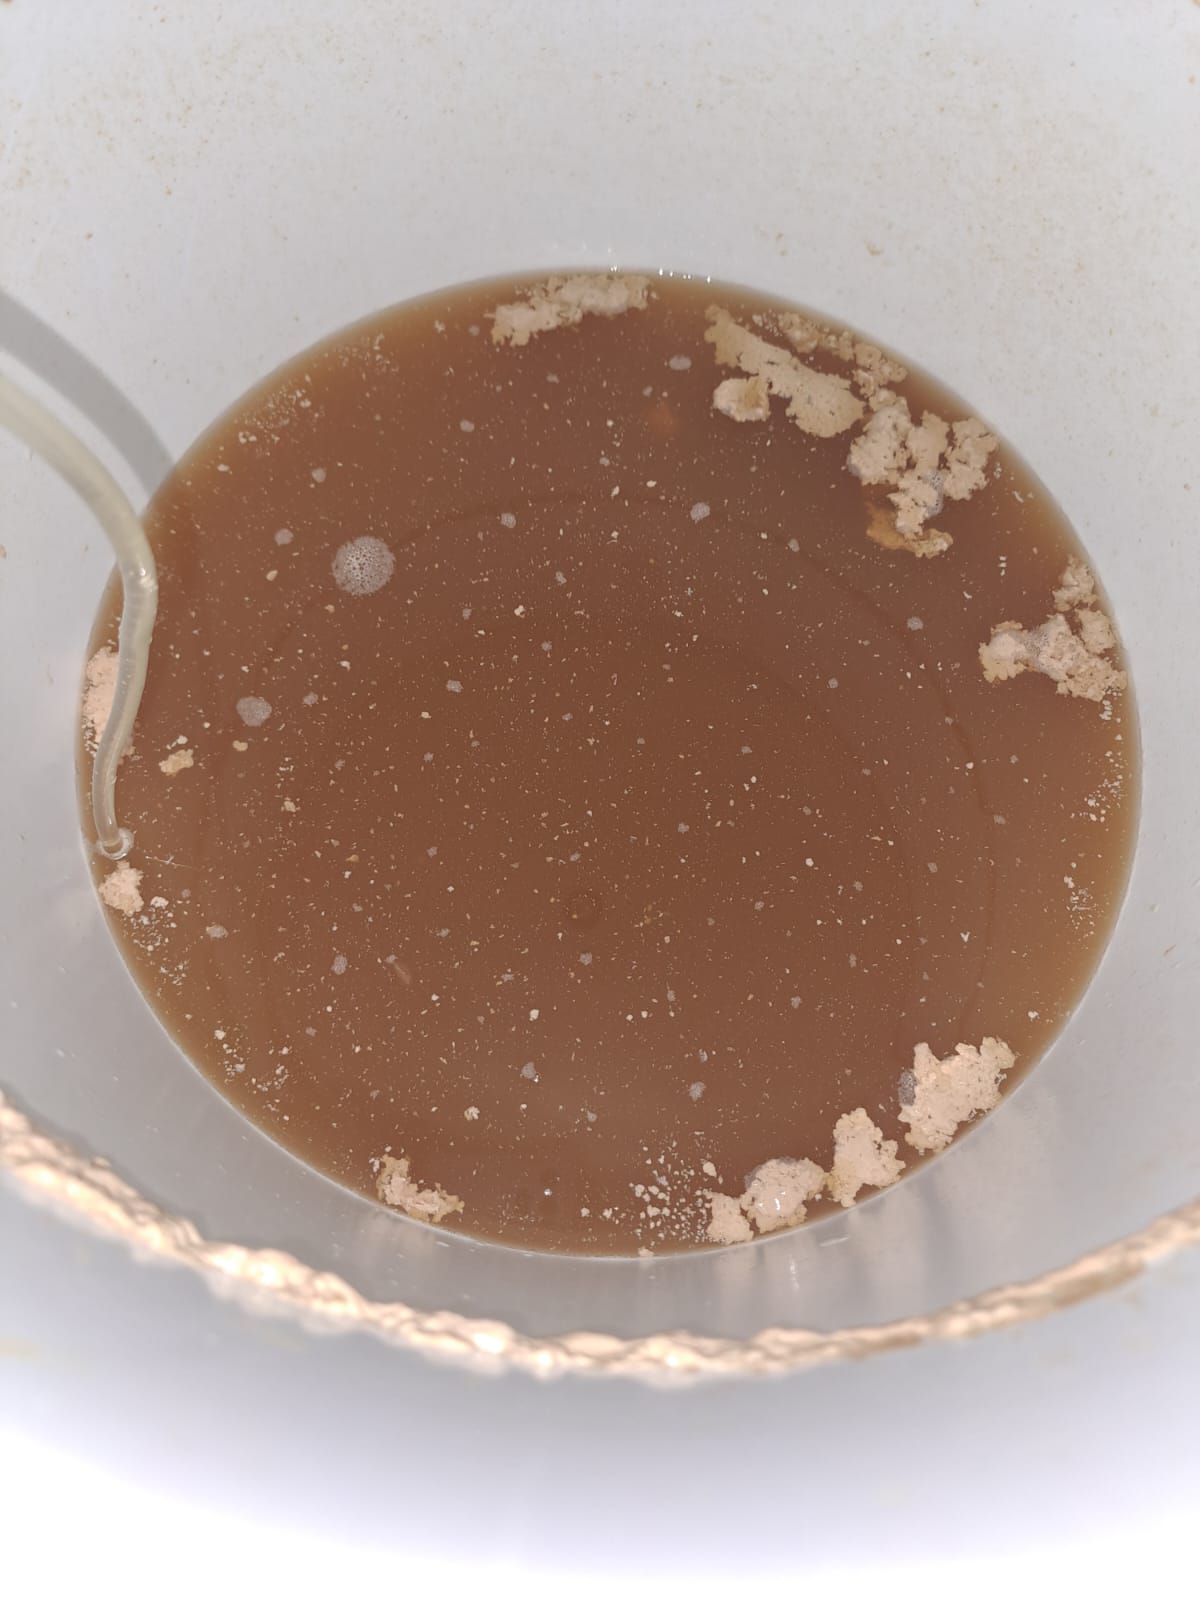
Krausen

Crusty layer inside the fermenter. Perfectly fine but probably indicates that the fermentation isn't quite complete. You can choose to either bottle at this stage (which may yield some sweetness) or leave it another 2-5 days for the process to complete. Best to test using a hydrometer.

Fermentation Complete   

My first ever batch. Fermentation completed and everything dropped to the bottom of the fermentation vessel.

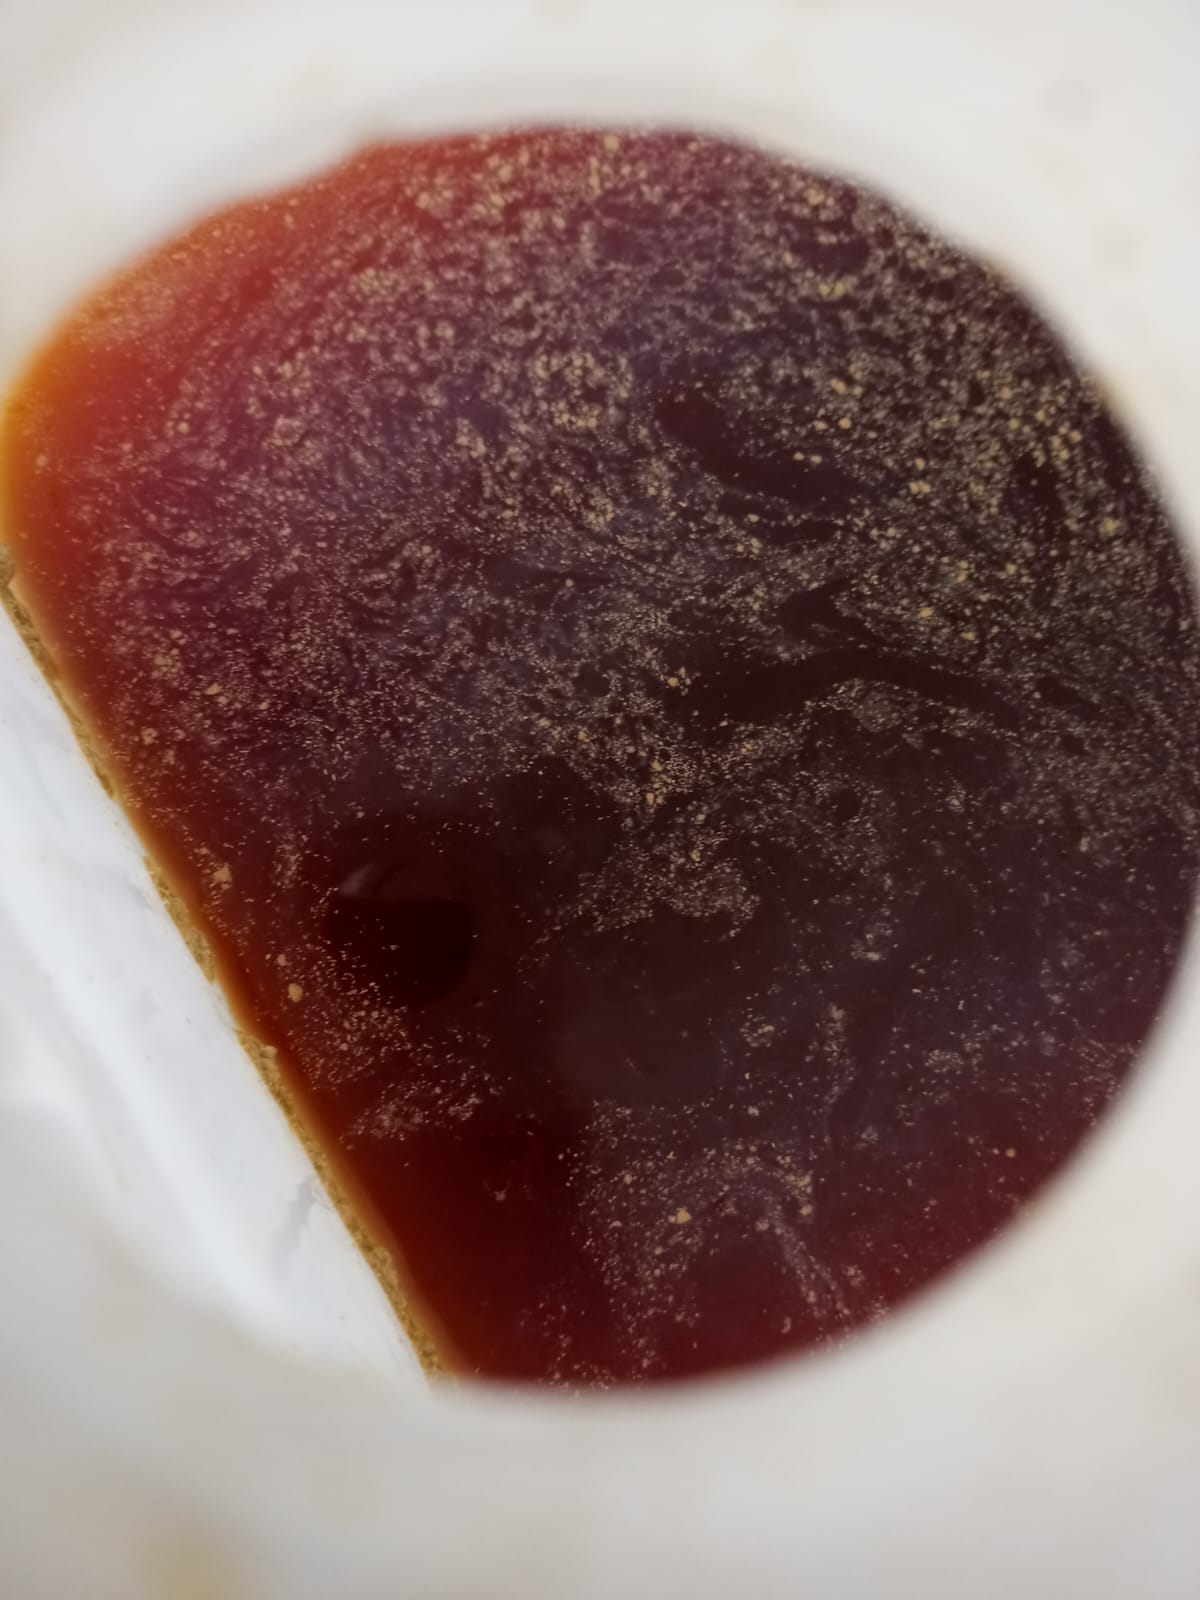
Sediment

Fermentation completed, busy bottling. This is the sediment (hazy/murky bit) at the bottom of the fermentation vessel. I could bottle more of this but at the risk of getting more sediment into the bottles. Instead, I stopped at this point and called it a day.

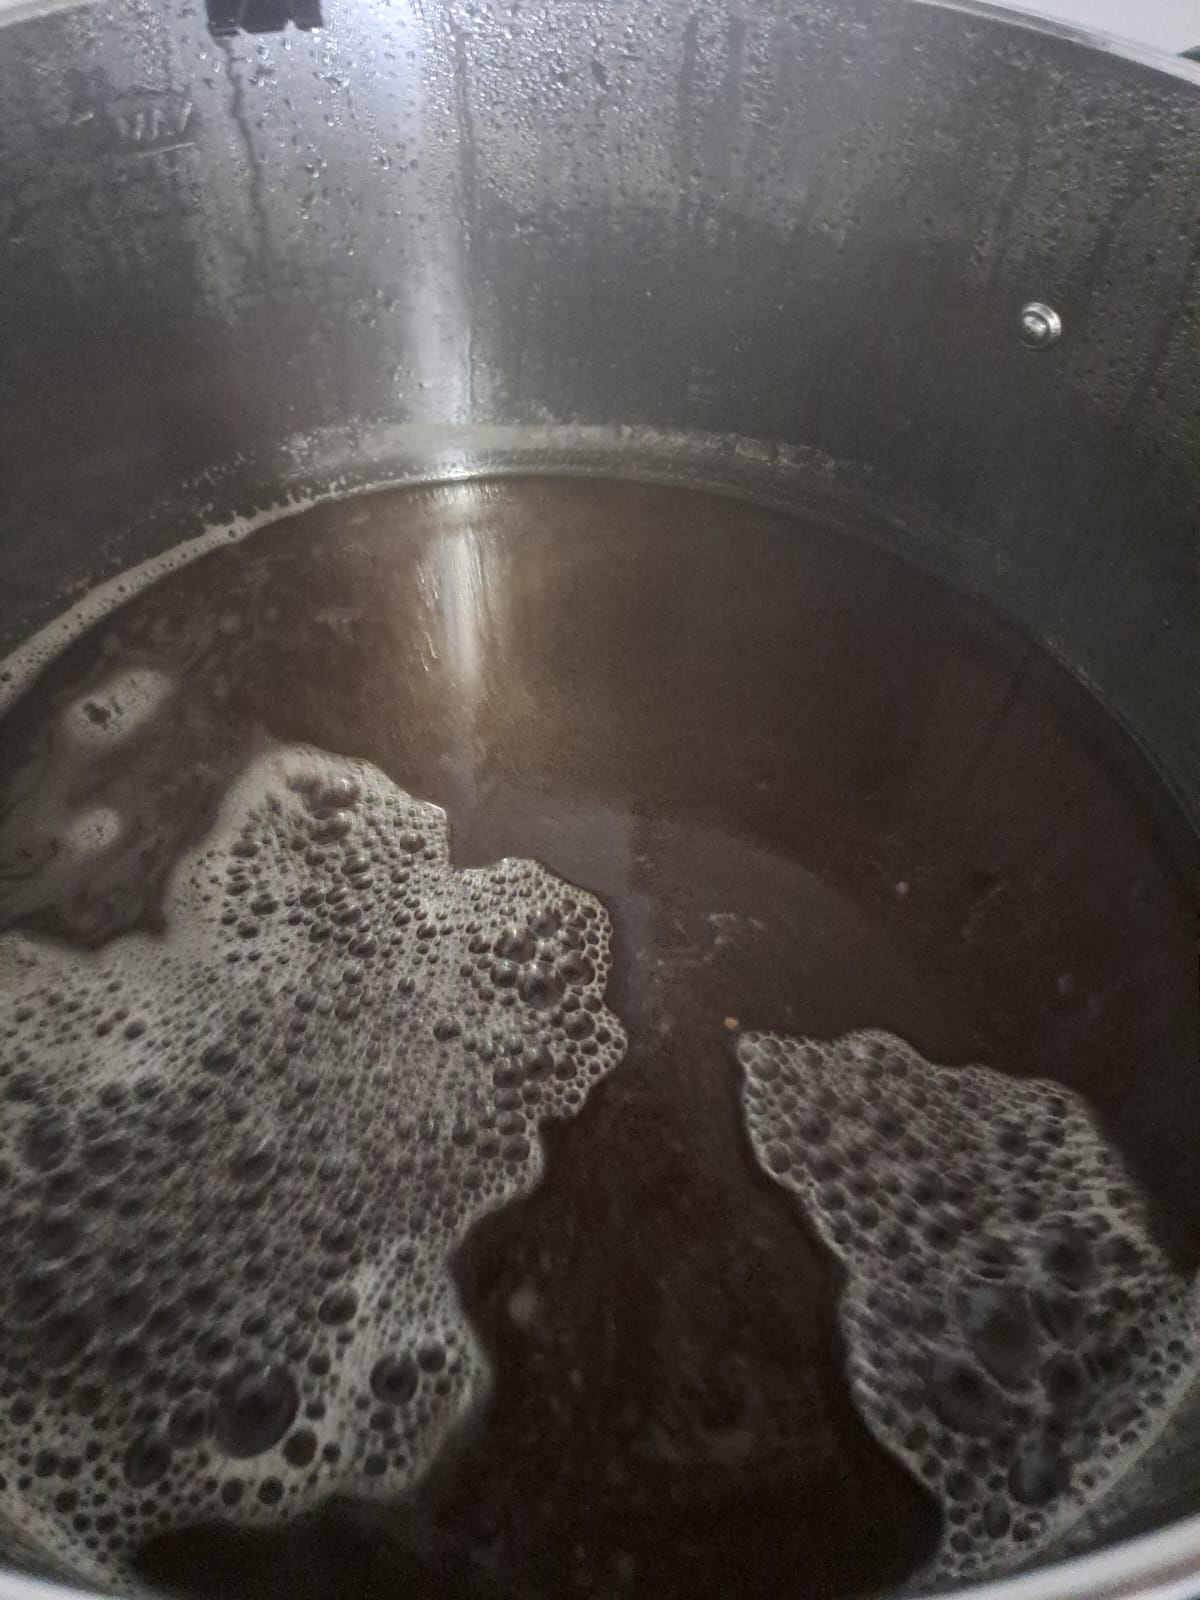
Inside the Kettle

Steeping and Boiling Completed. Now to cool it down and get it into my fermenter. 
Again, a reminder to leave the last bit in there otherwise, you may just be filling your fermenter with loads of particles/sediment which you wouldn't be bottling anyways.

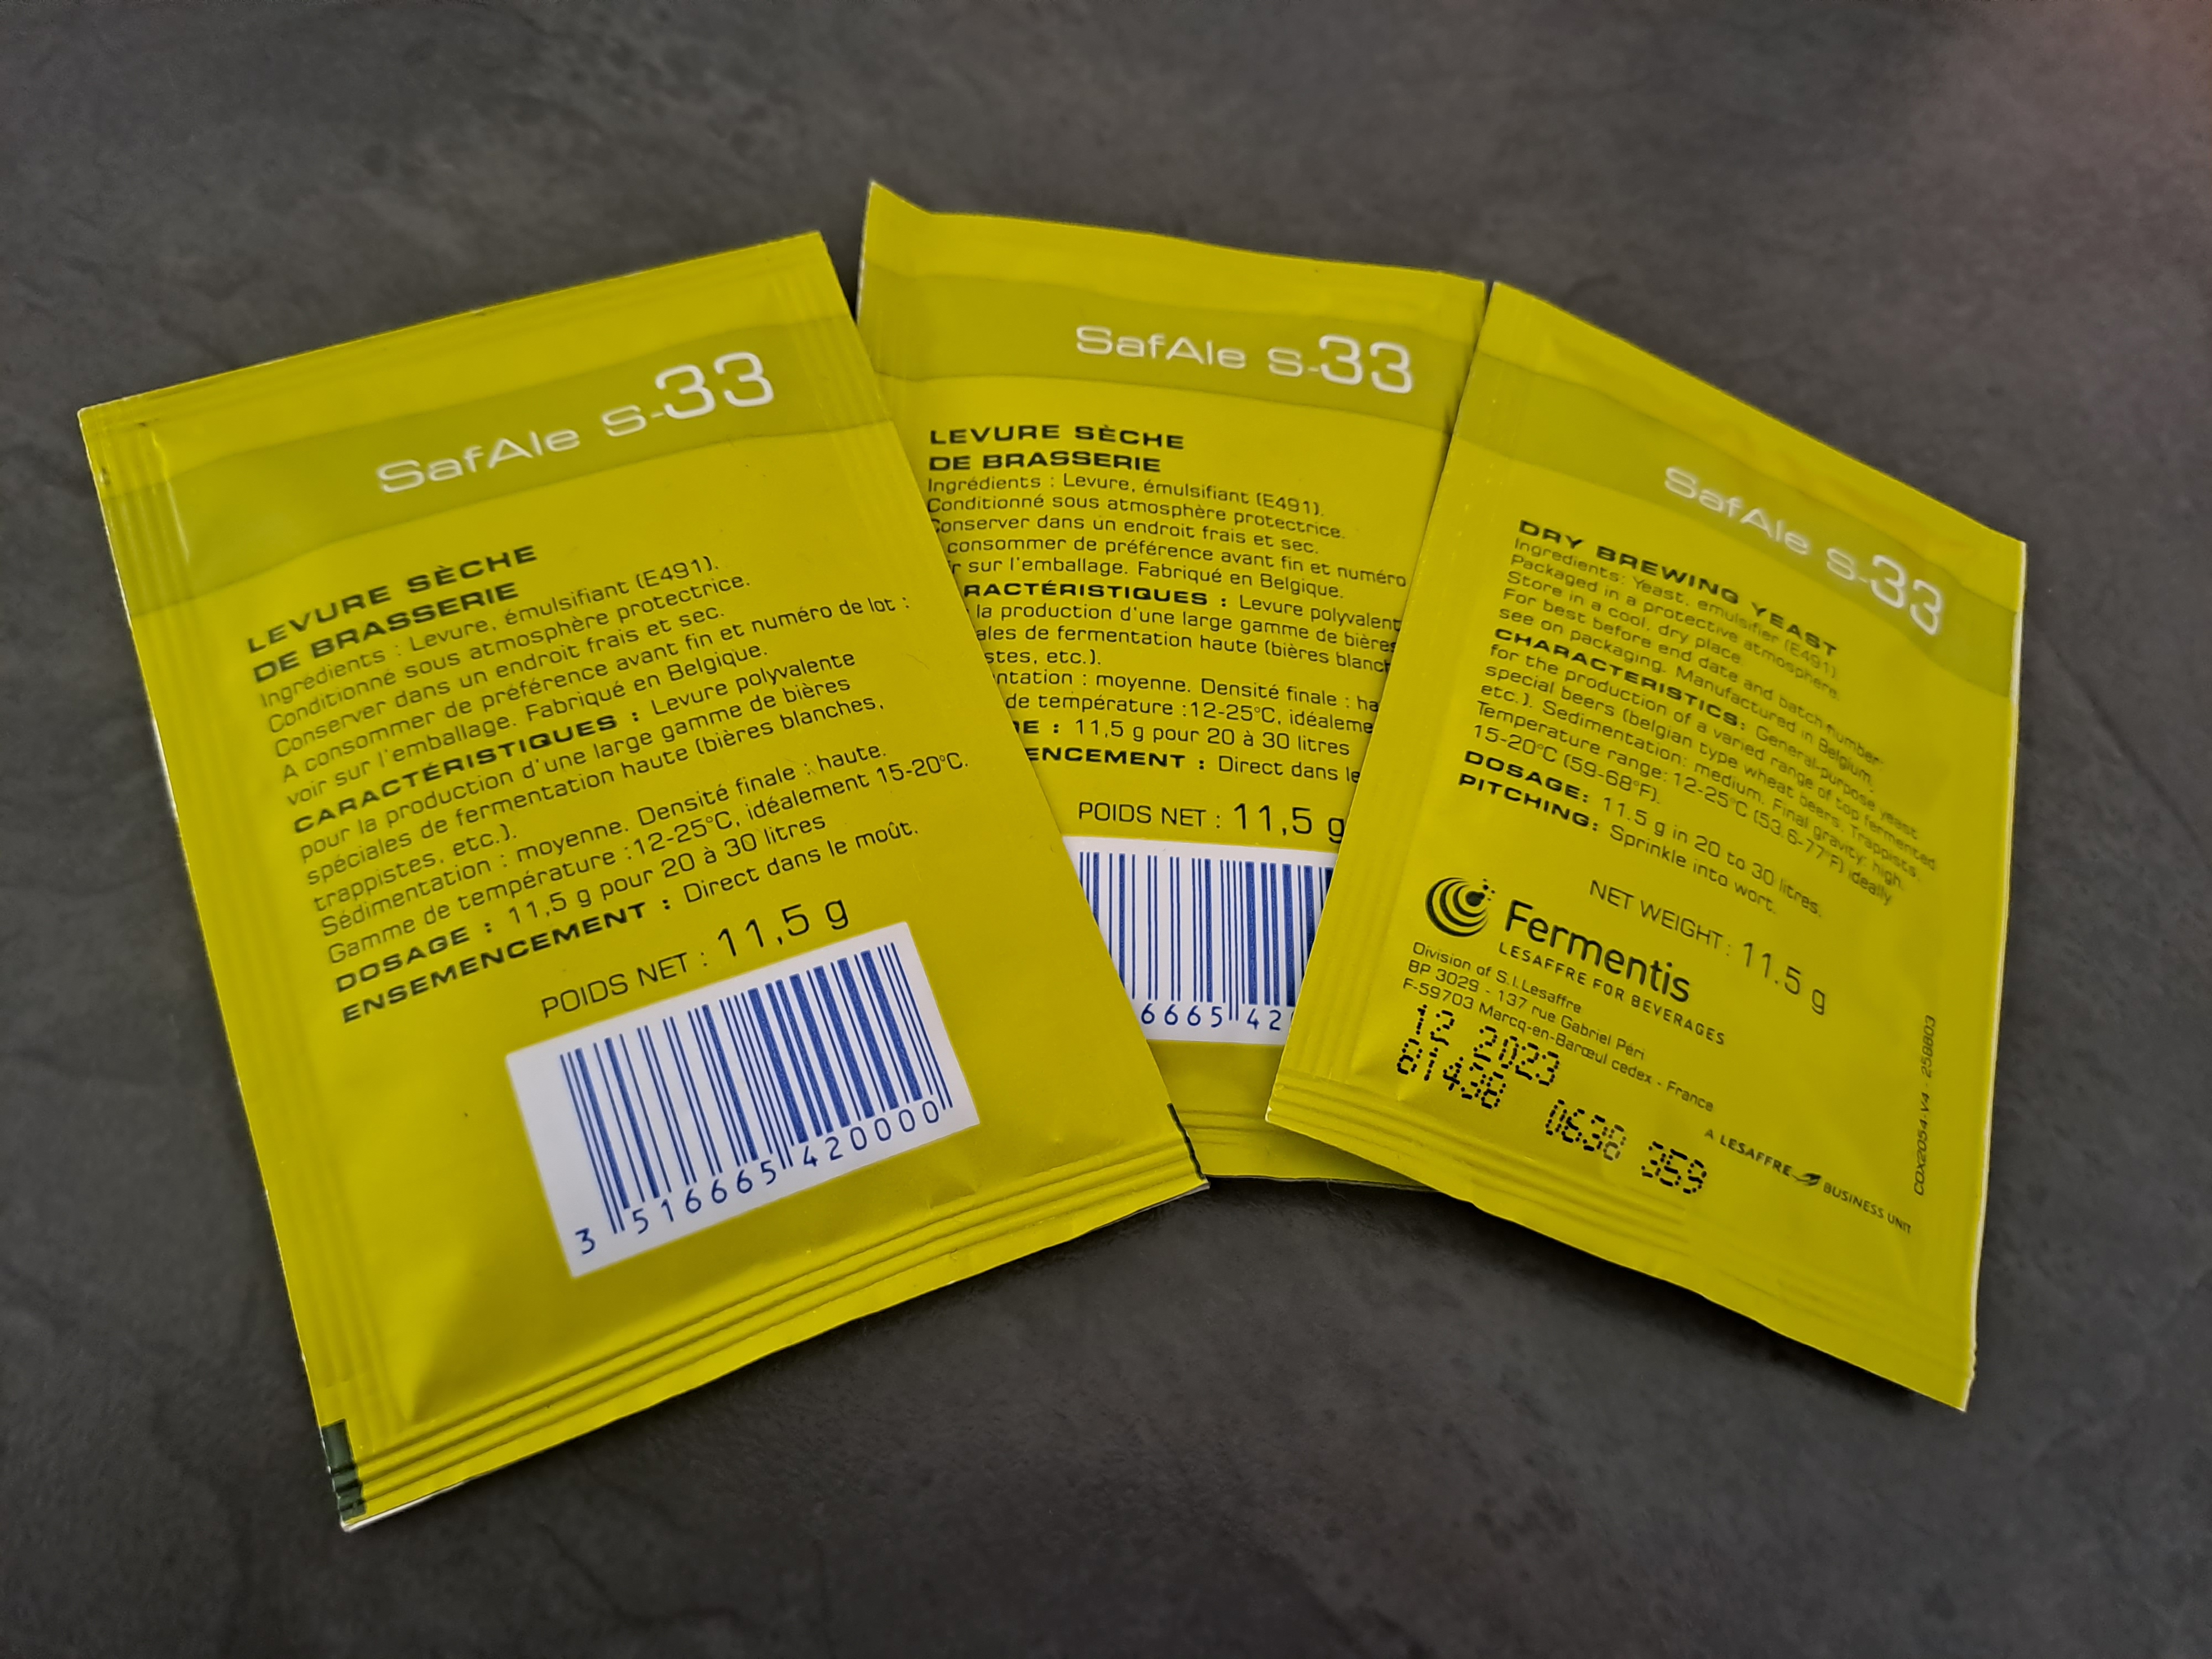
Yeast

Some yeast packets. You get all kinds of flavours/brands - each with its own unique taste and temperature requirements for fermenting. Lager yeasts tend to require lower temperatures than Ale yeats - but remember it's all usually written on the packet itself.

Grains

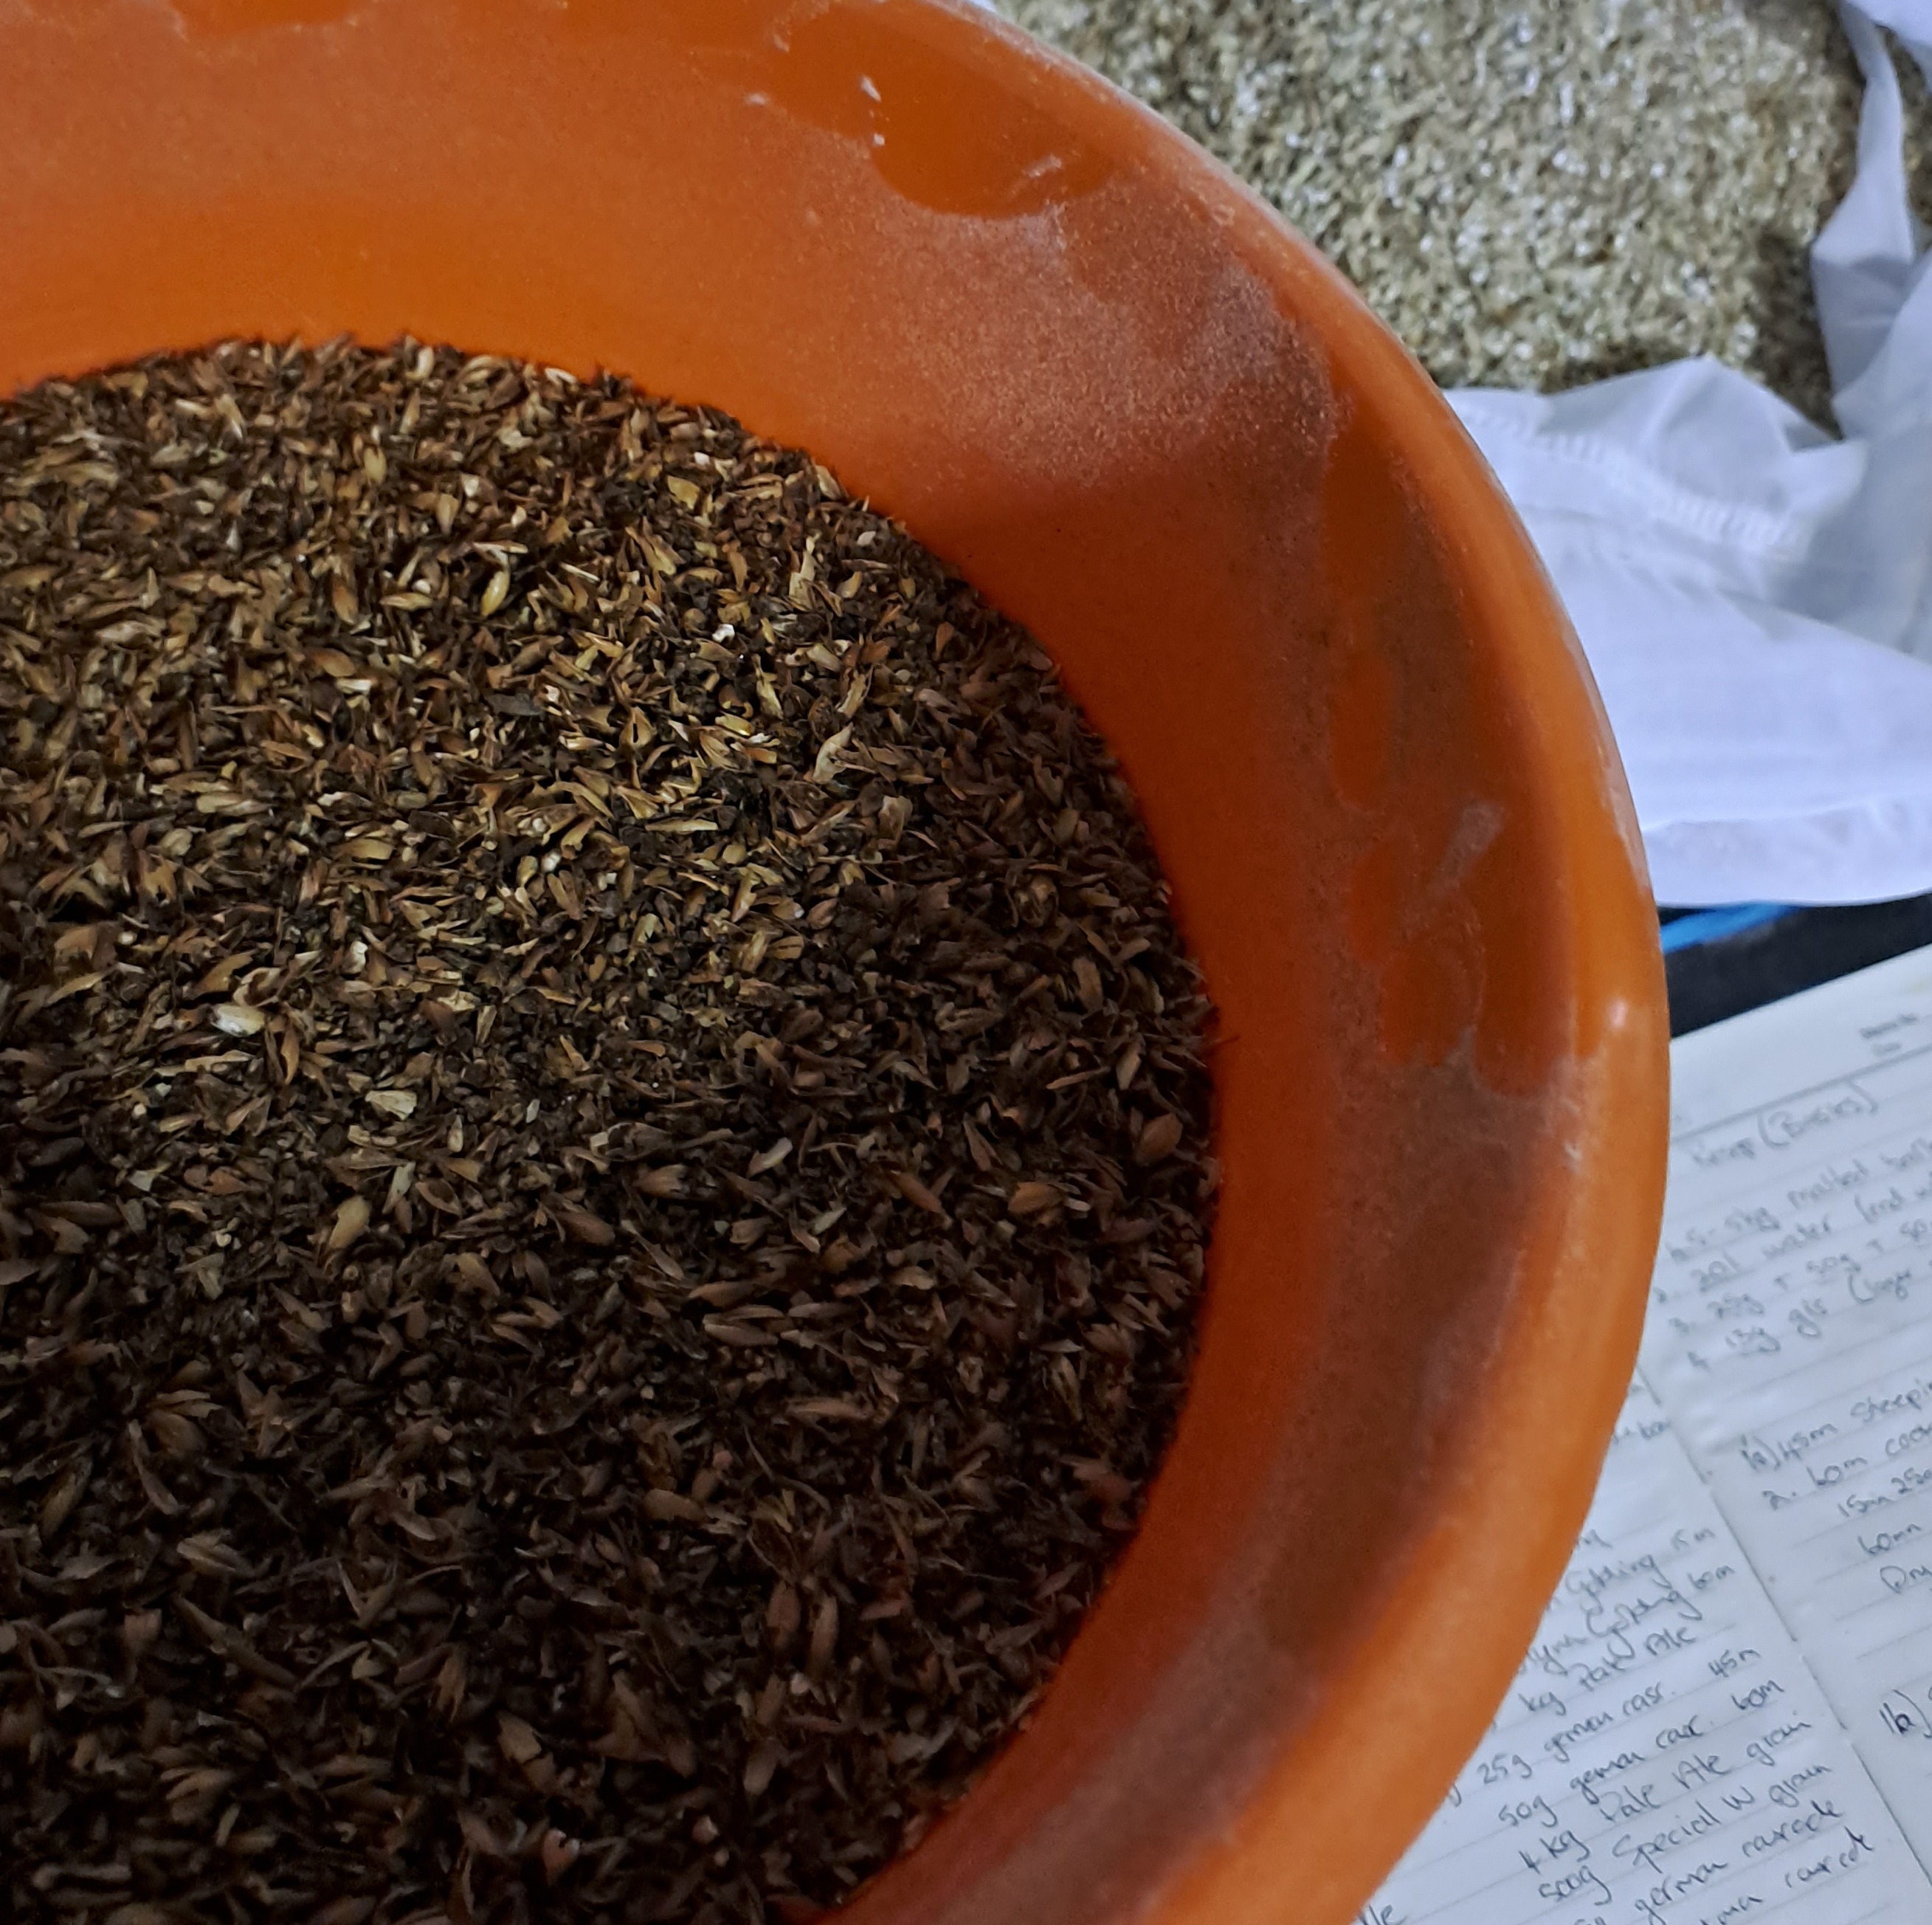
Some lighter Pale Ale grains in the background with some Special W in the foreground. Both coursely ground and ready for the steeping process. On the side, my special little recipe book :-)

Malted Grains    

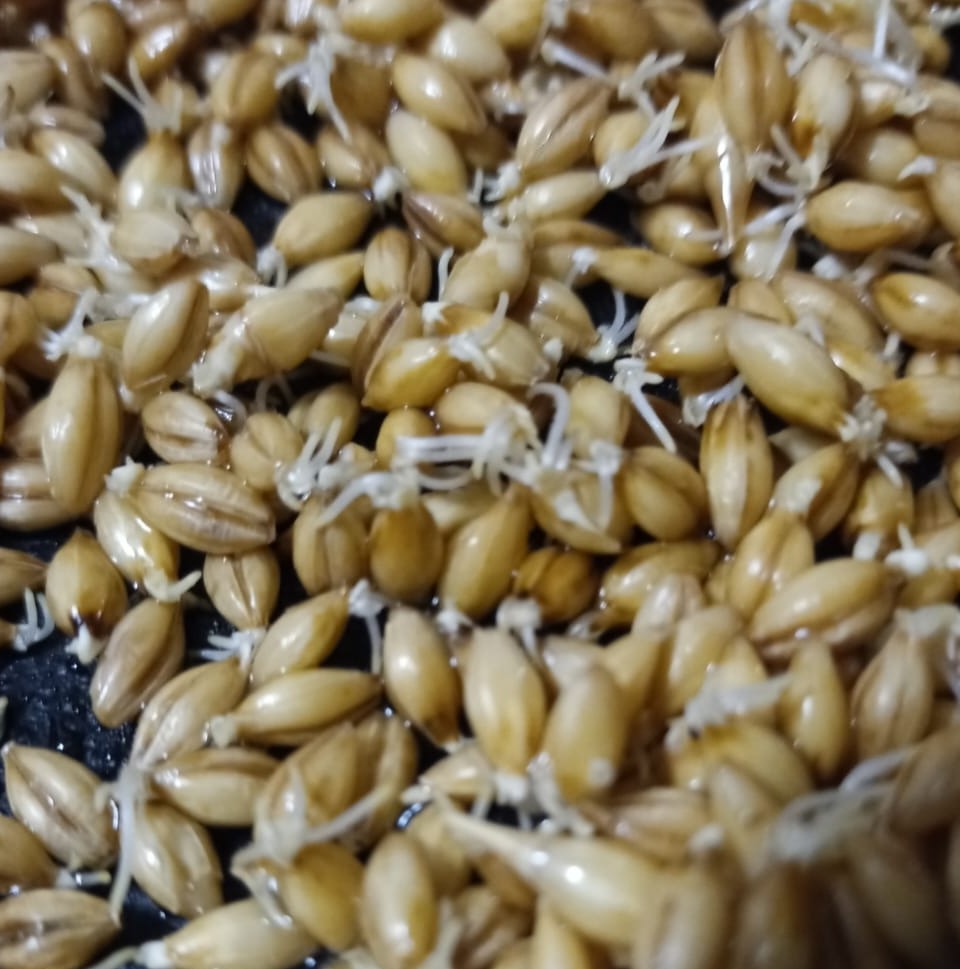
As part of my experiment to malt my own grains - you can see how they have sprouted. These are now to be dried and cleaned before using them in a steeping/boiling process.

Malted Grains

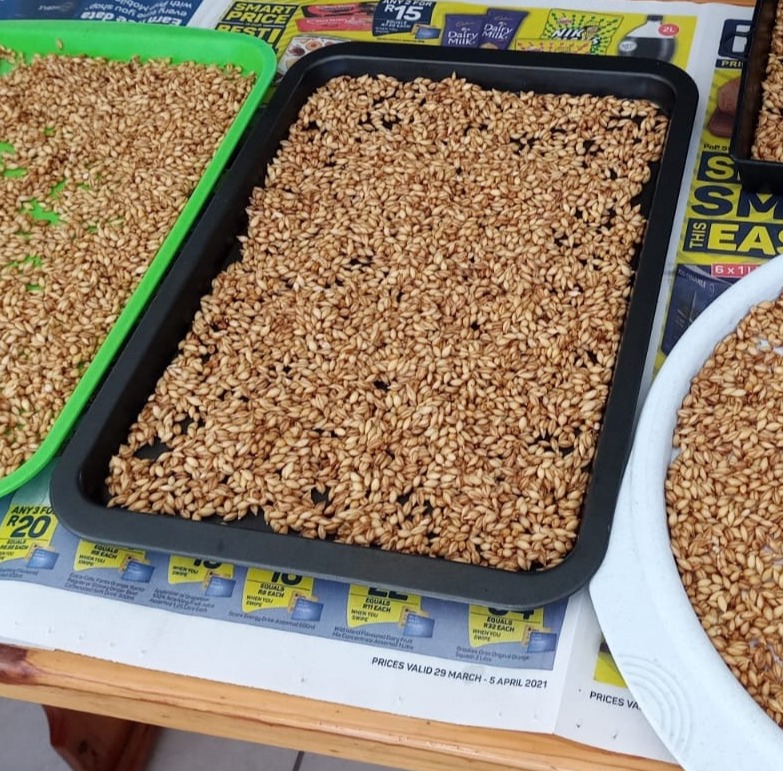
Malted, dried and cleaned. Ready for grinding and usage

Fermentation Vessel

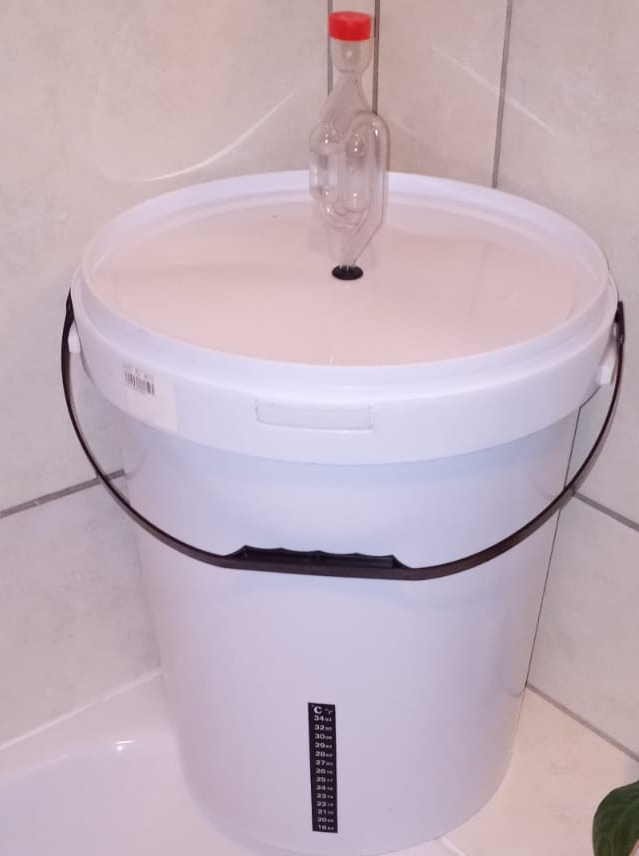
25 Liter fermentation bucket with a plastic airlock and grommet as well as a stick-on thermometer.

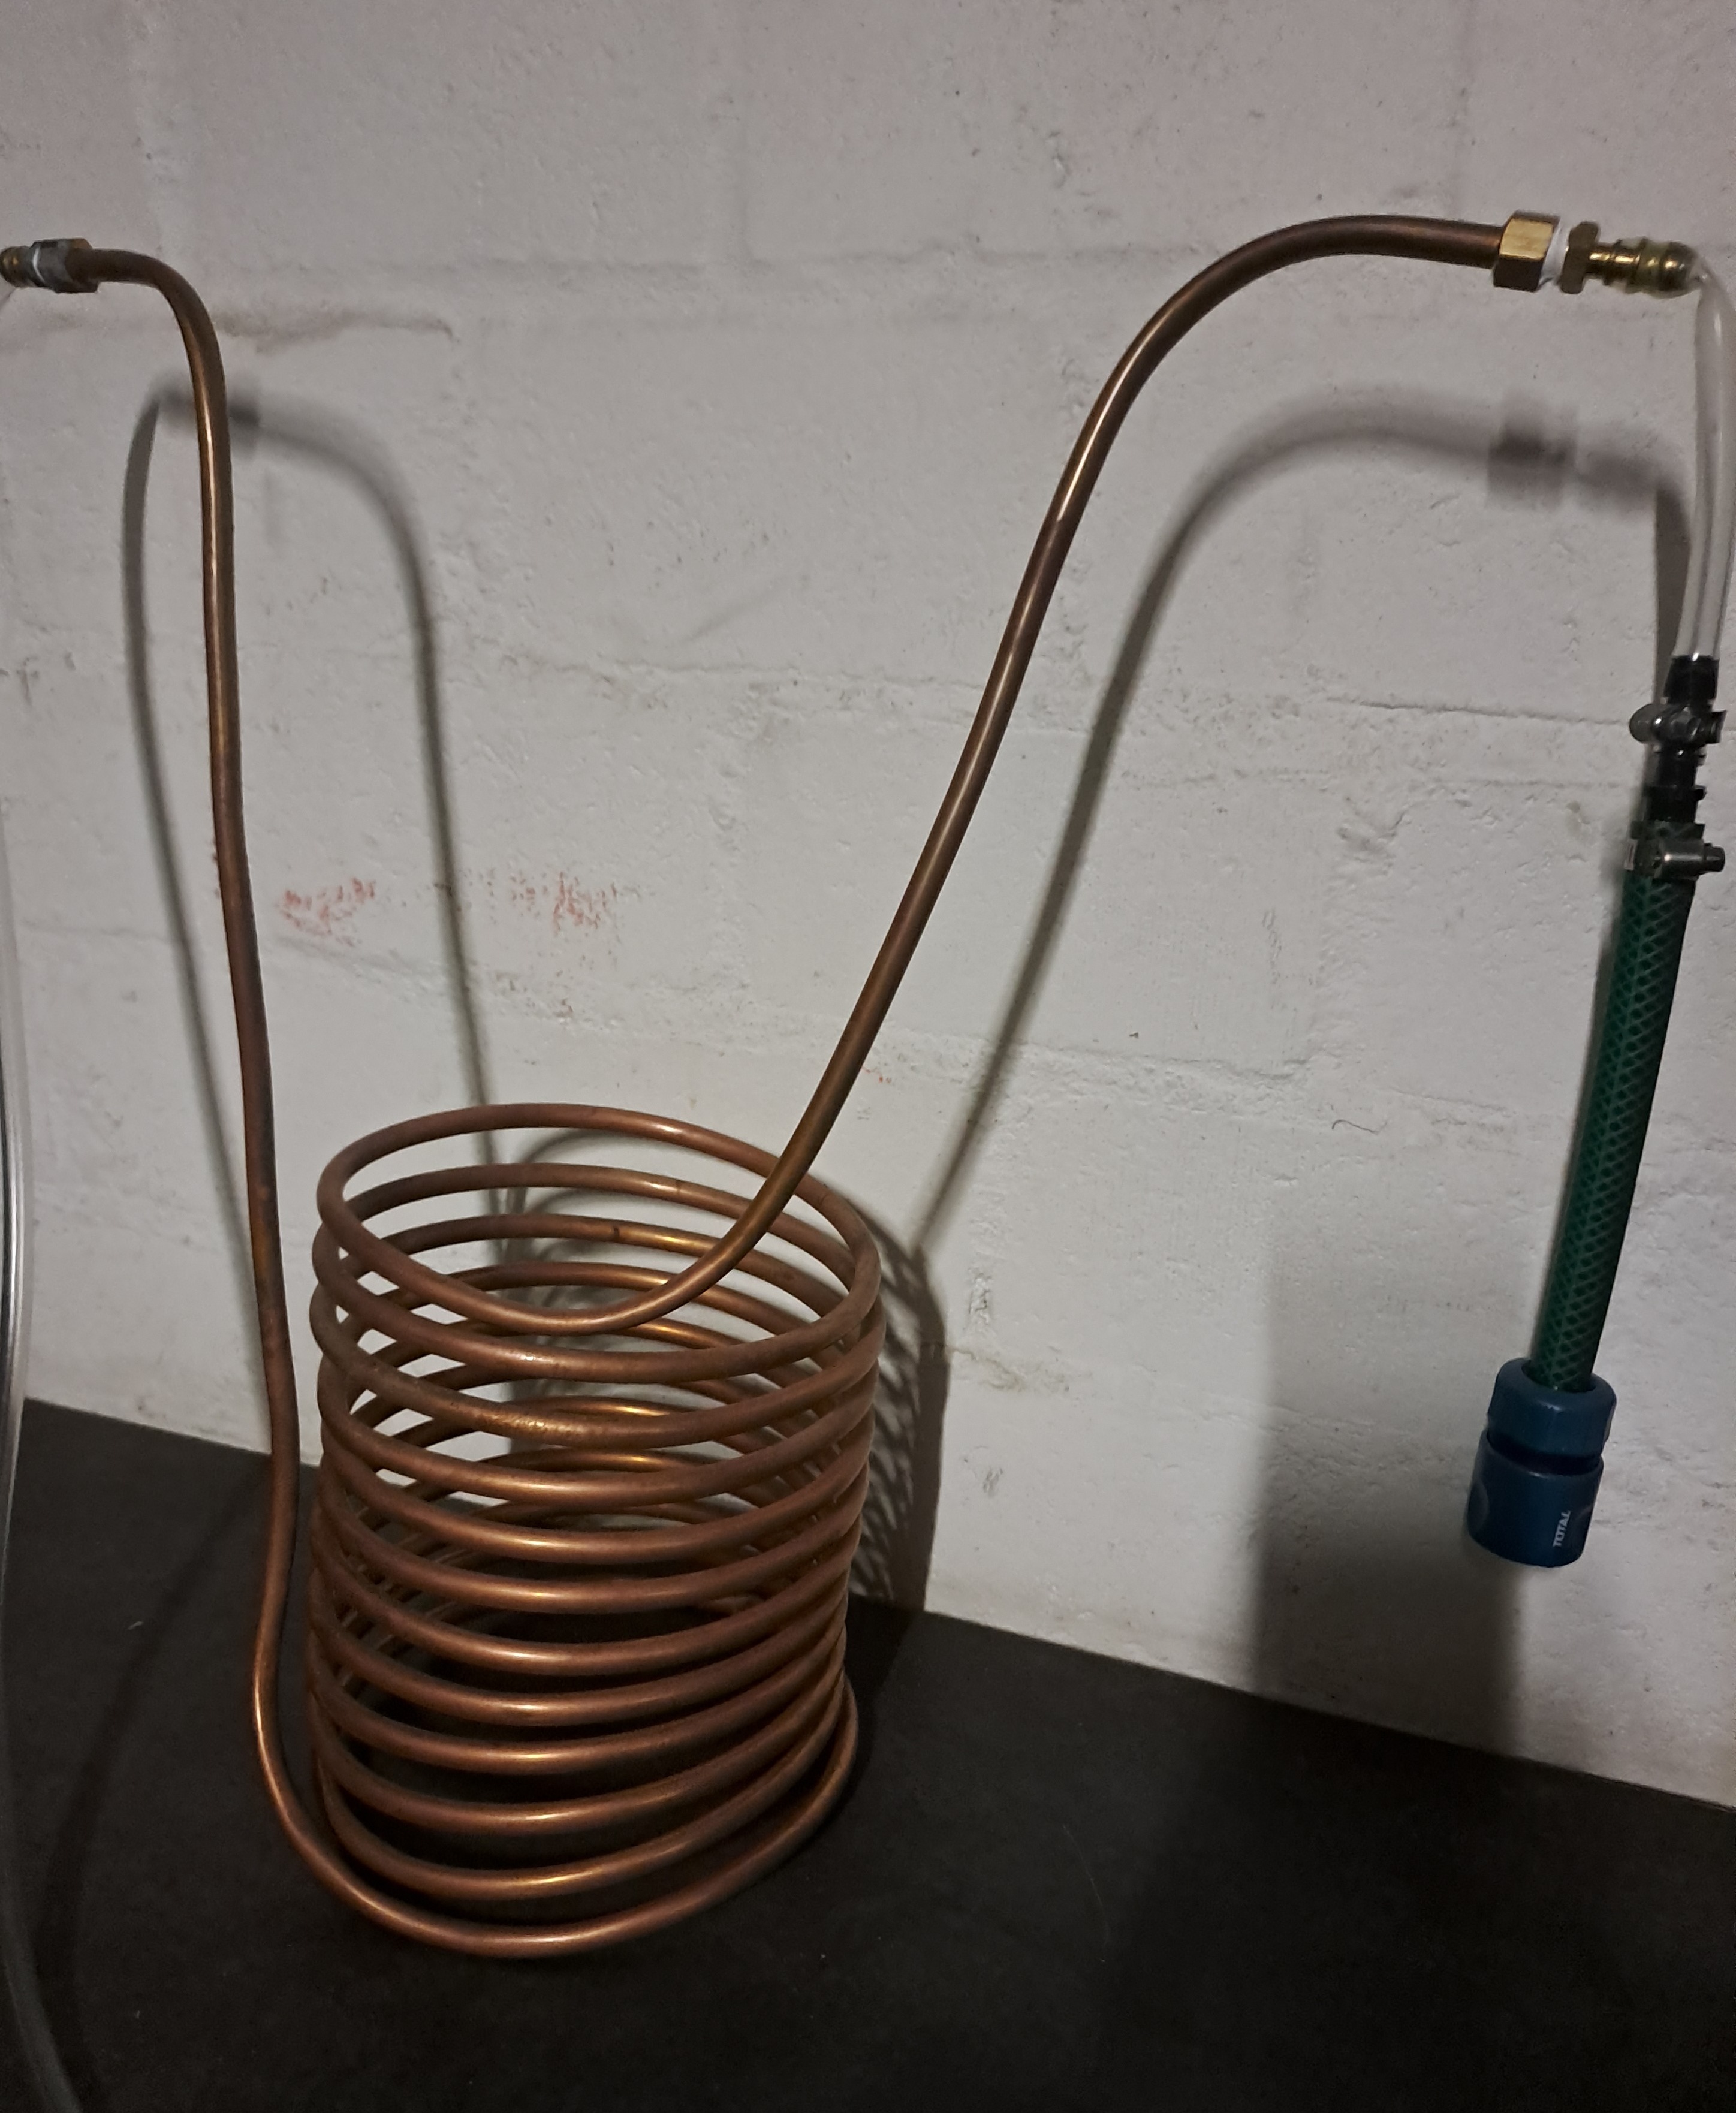
Wort Cooler

Self-made spiral cooler from copper tubing, some brass fittings and hose connectors. Only the copper tubing ever touches the wort, all the other bits and pieces stay outside of the urn.

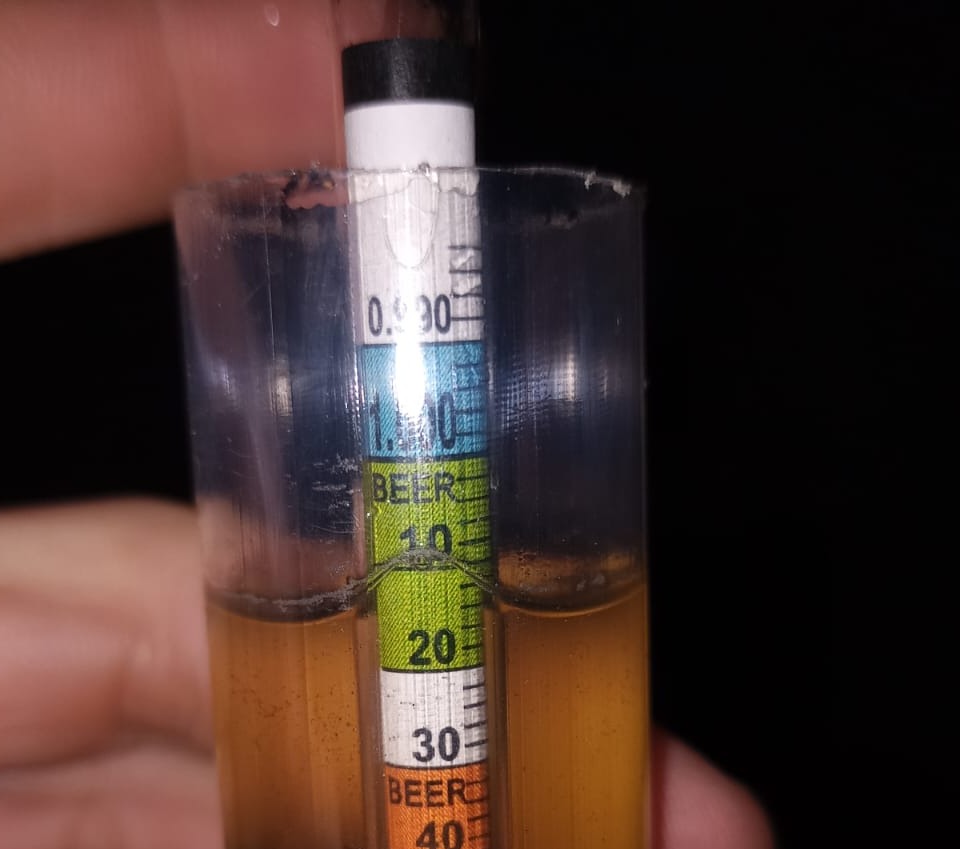
Hydrometer & Gravity Reading

Ideally starting at somewhere around 1.040
before fermentation and ending at around 1.010 (or lower) after fermentation.

Although not an essential requirement, it does help you gain some confidence in the process and your results. It also resolves some anxiety of not knowing.

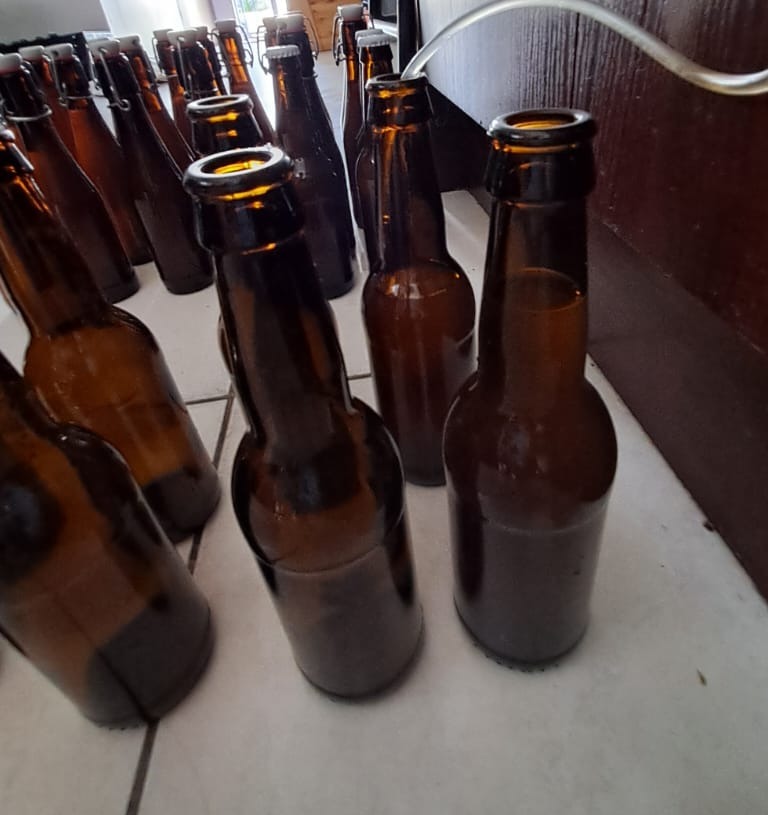
Bottling Day

Filling the bottles from my fermenter. Notice the level where I stop, leaving some headspace in the bottle for the carbonation process.

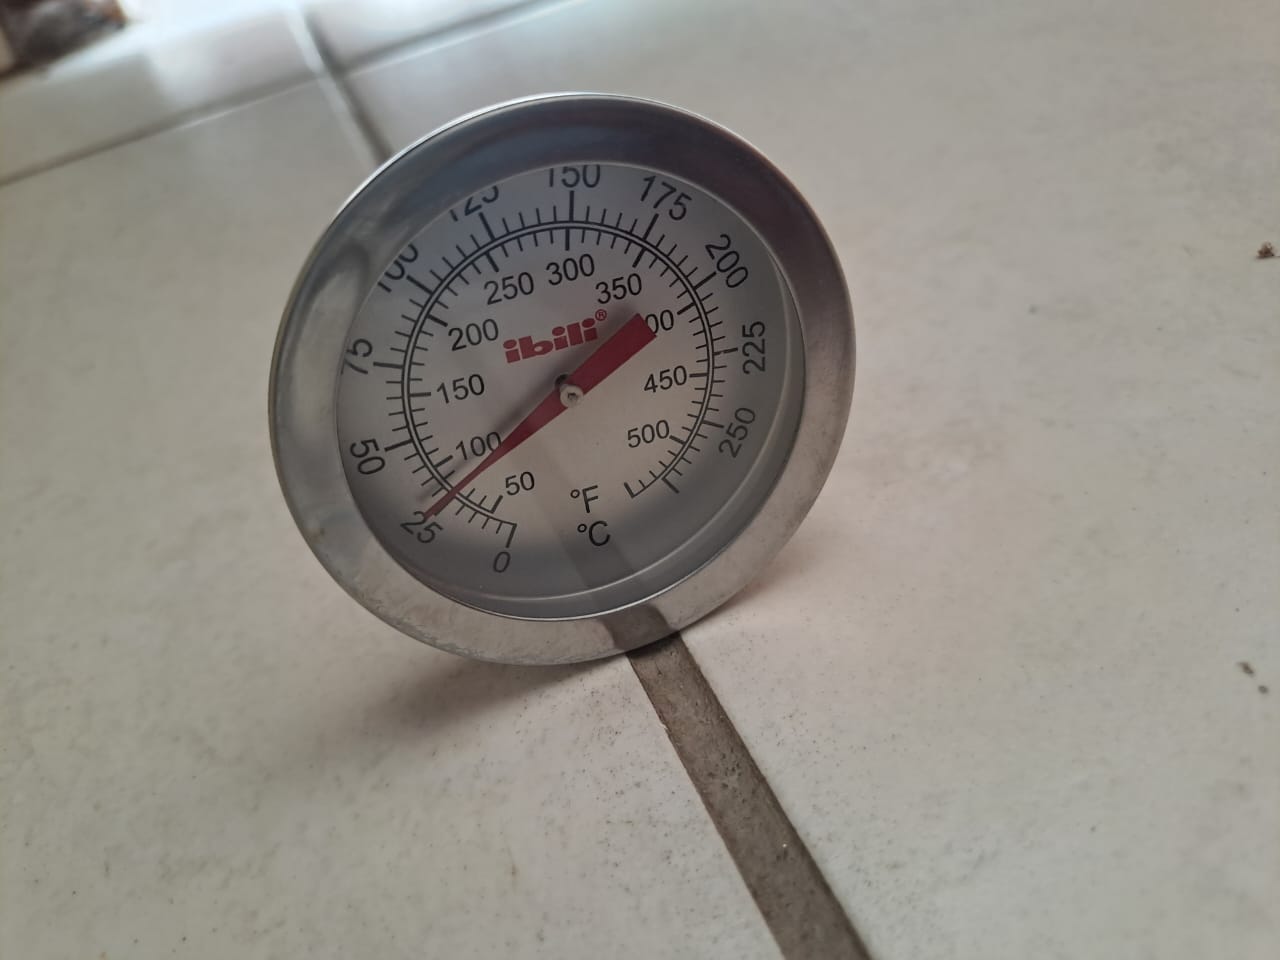
Thermometer

Simple sugar thermometer I use to test the temperature of the wort (either whilst boiling or whilst cooling it down for fermentation). Other digital thermometers can be used or, when you get to your expert level and wish to invest more into your hobby, you can get yourself some brewing equipment where all of this (and more) has been built in.

Scale

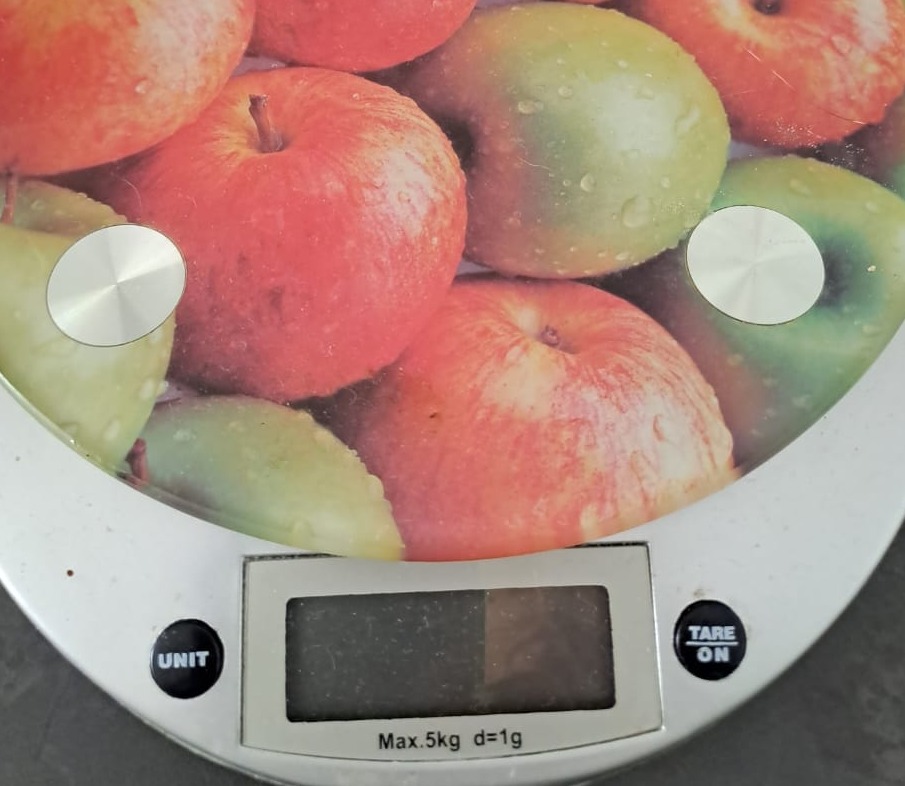
Kitchen scale used for measuring grams - more specifically for Hops of 25 - 100 grams (used for bittering, flavour and aroma) or the Irish Moss (used as a fining agent to help clear up your beer).

Scale

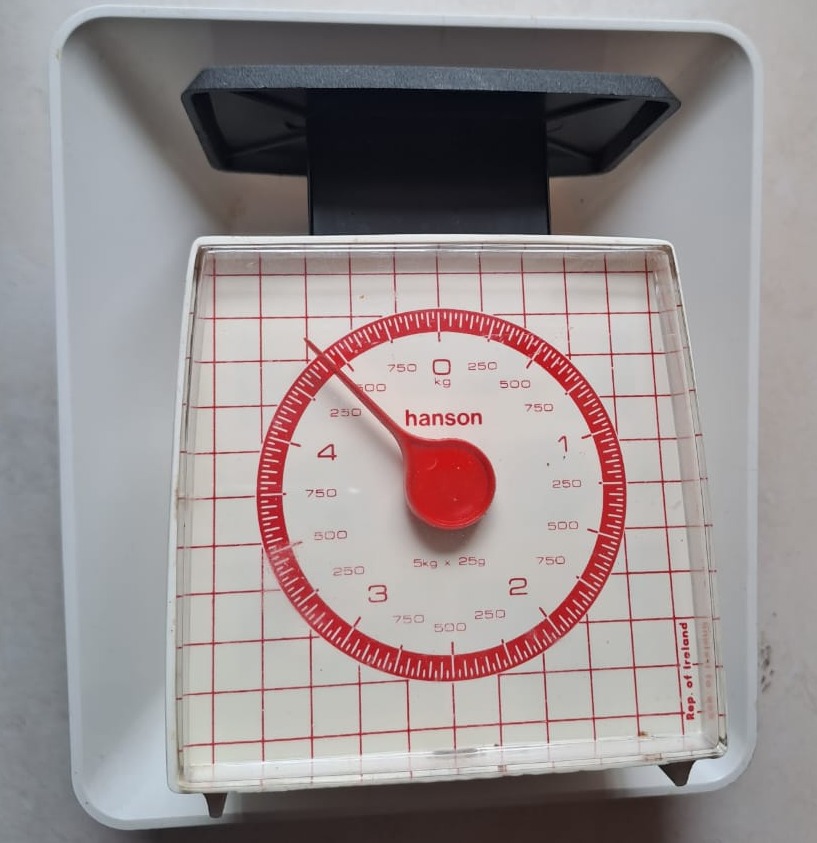
Kitchen Scale used to weigh the grains - in my case up to 4.5 or 5 kilograms for a typical 20 liter batch. 

Brewing / Boiling / Steeping Kettle

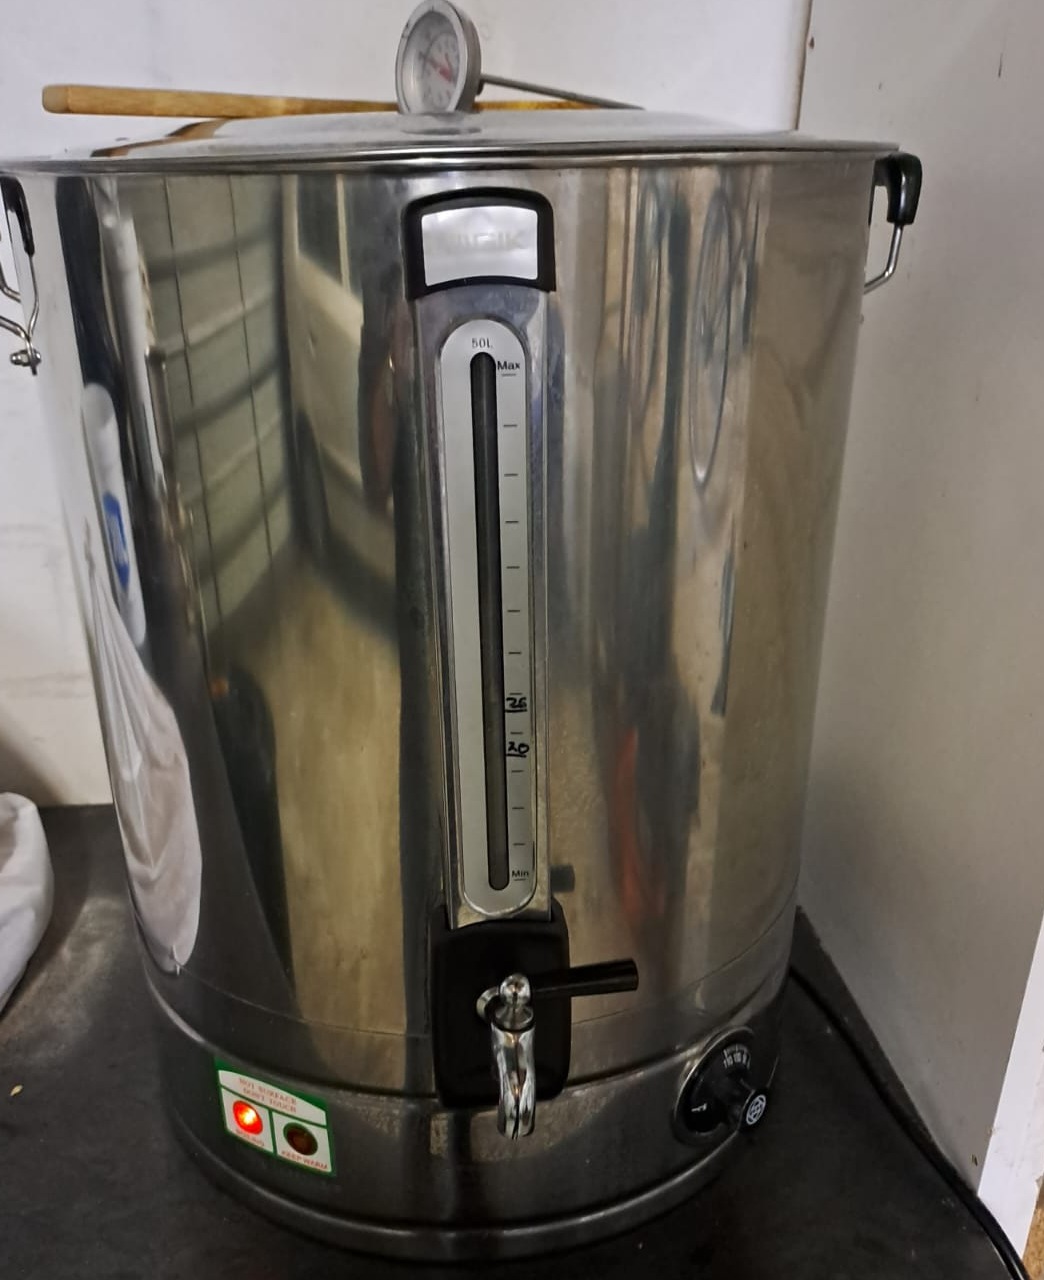
Very generic coffee urn for steeping and boiling.

© Copyright 2024 Trueshift. All Rights Reserved.