This is the second step in the process (it follows the steeping / boiling process / making wort from mash)
The goal is to introduce the yeast to the product you created in step 1 and leave the little guys to do their work (during which they consume the sugars and exchange it with alcohol and carbon dioxide (CO2)
This step makes for far less effort on your side, but requires good discipline in terms of keeping everything sanitized.
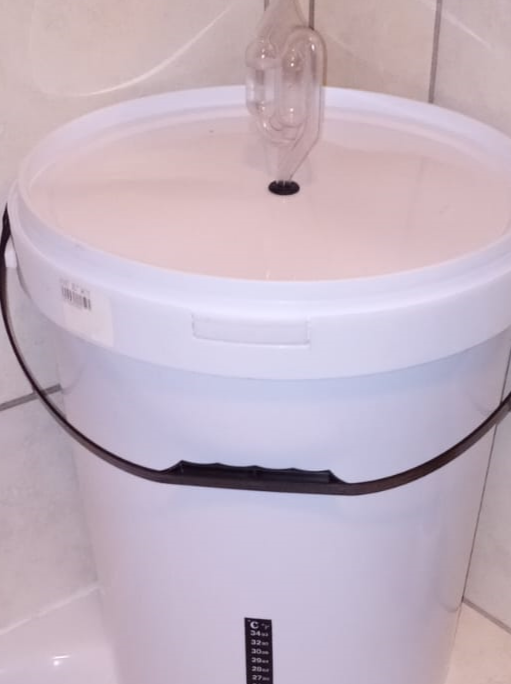
This is a plain 25 litre plastic bucket.
An airlock - see the top of the bucket / the lid.
You get various kinds of fermentation vessels. They can be plastic or stainless steel. I've opted for the cost-effective option (plastic). My first attempt saw me use a 25 litre water canister with a screw-on cap. These work well, but you will need a funnel to help add things to it and they have some crevices that are more difficult to clean.
You'll notice I've modified the lid (small hole with a grommet) to support the airlock. You should be able to buy airlock and grommet from your local supplier, BUT I will show you a relatively easy way to make your own. See here.
I've also added a stick-on thermometer. This is a really useful tool that allows you to monitor the fermentation temperature throughout (as you don't want to be opening it during fermentation without good reason).
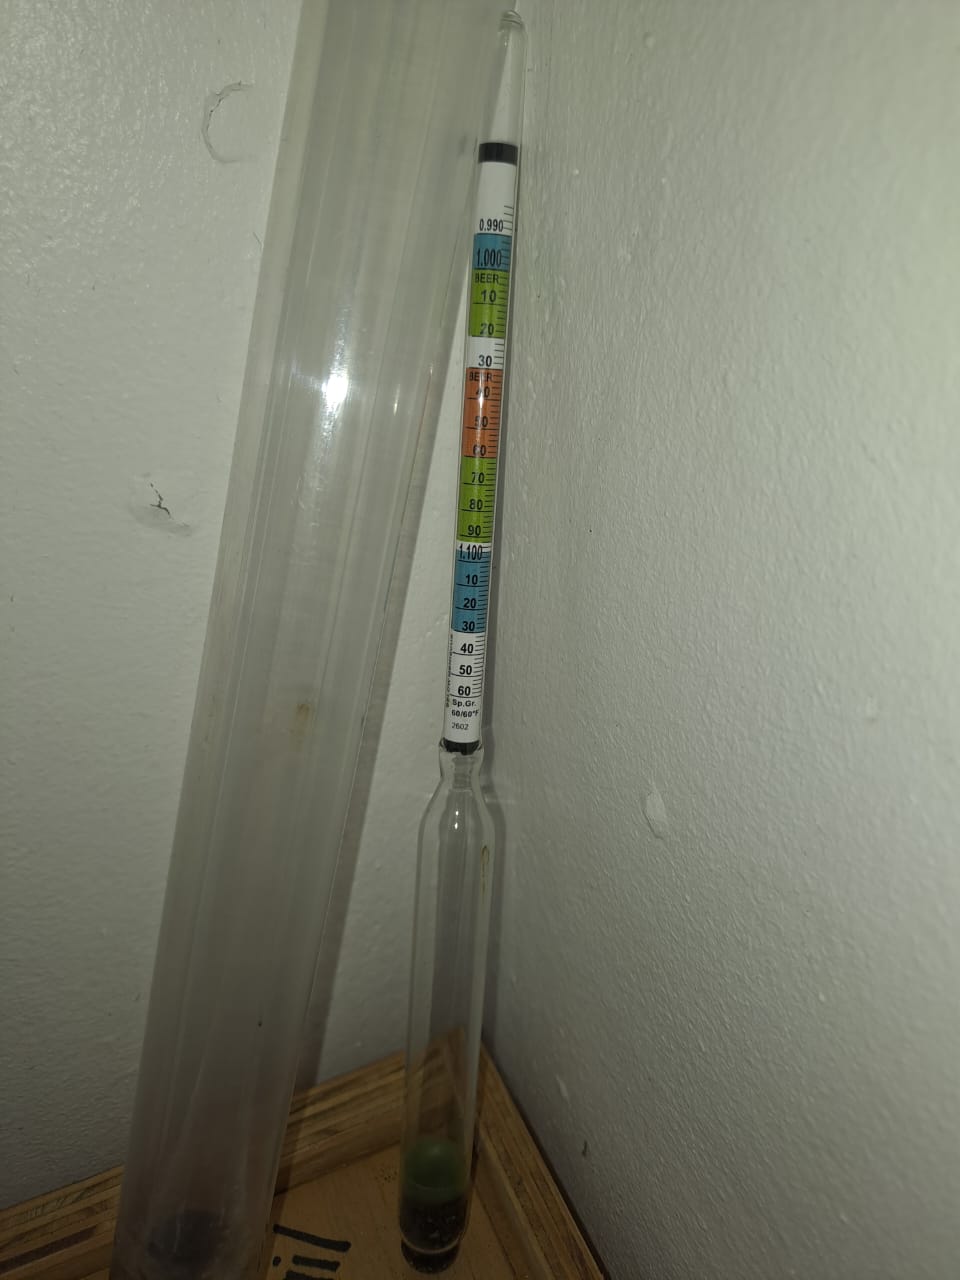
Whilst some may claim that this is an absolute necessity I will only admit that it has aided in giving me some confidence - that is, it told me how much sugar was in the wort before fermenting as well as a comparison of the sugar content after fermenting. The two values differed (as they should).
It is, in my opinion, a very useful tool in terms of empirical evidence, but mostly, it serves to lower any anxiety you might have about whether you've done things correctly. :-)
In all my efforts over the last 2 years, I have not yet had this little tool tell me that I've somehow gotten it wrong.
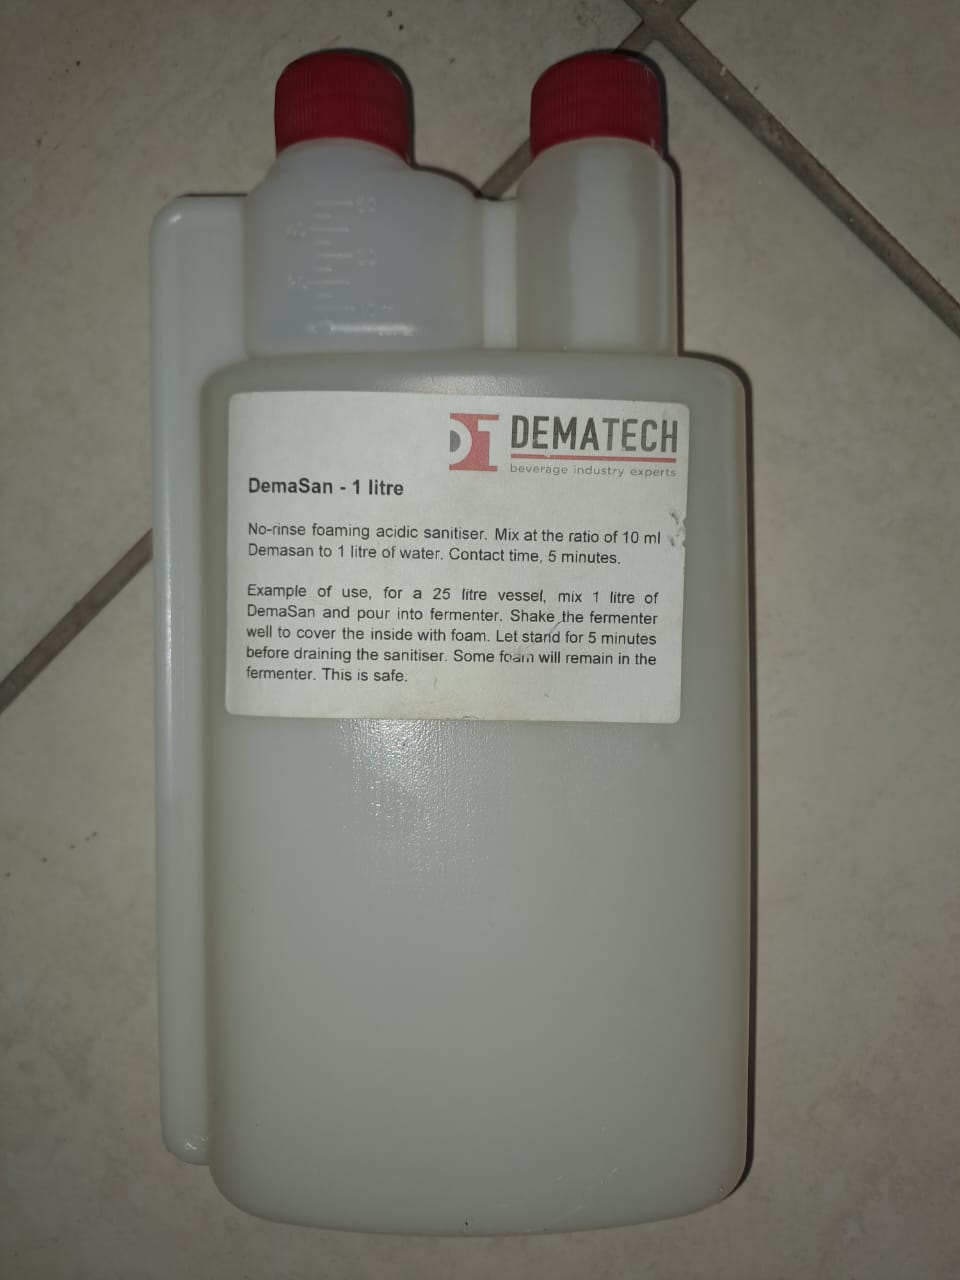
Things need to be really clean and this is really important. You don't want unwanted bacteria from settling in/on your fermentation vessels, bottles or utensils. It will just ruin all the effort you put into it.
The easiest way to do this is probably to buy yourself some sanitizer. It's expensive to some extent but should last you a long time. I did, however, in my early attempts essentially sterilize everything using a small mobile electrical steamer. This worked just as well but was way more effort :-)
Starsan and Demasan are known sanitizers. There are others (I use 10 milliliters of Demasan in 1 liter of water). I usually have some sanitizer ready from the very start (see column to the right). However, the most important time for sanitizing is when the boil is complete and you plan on starting fermentation.
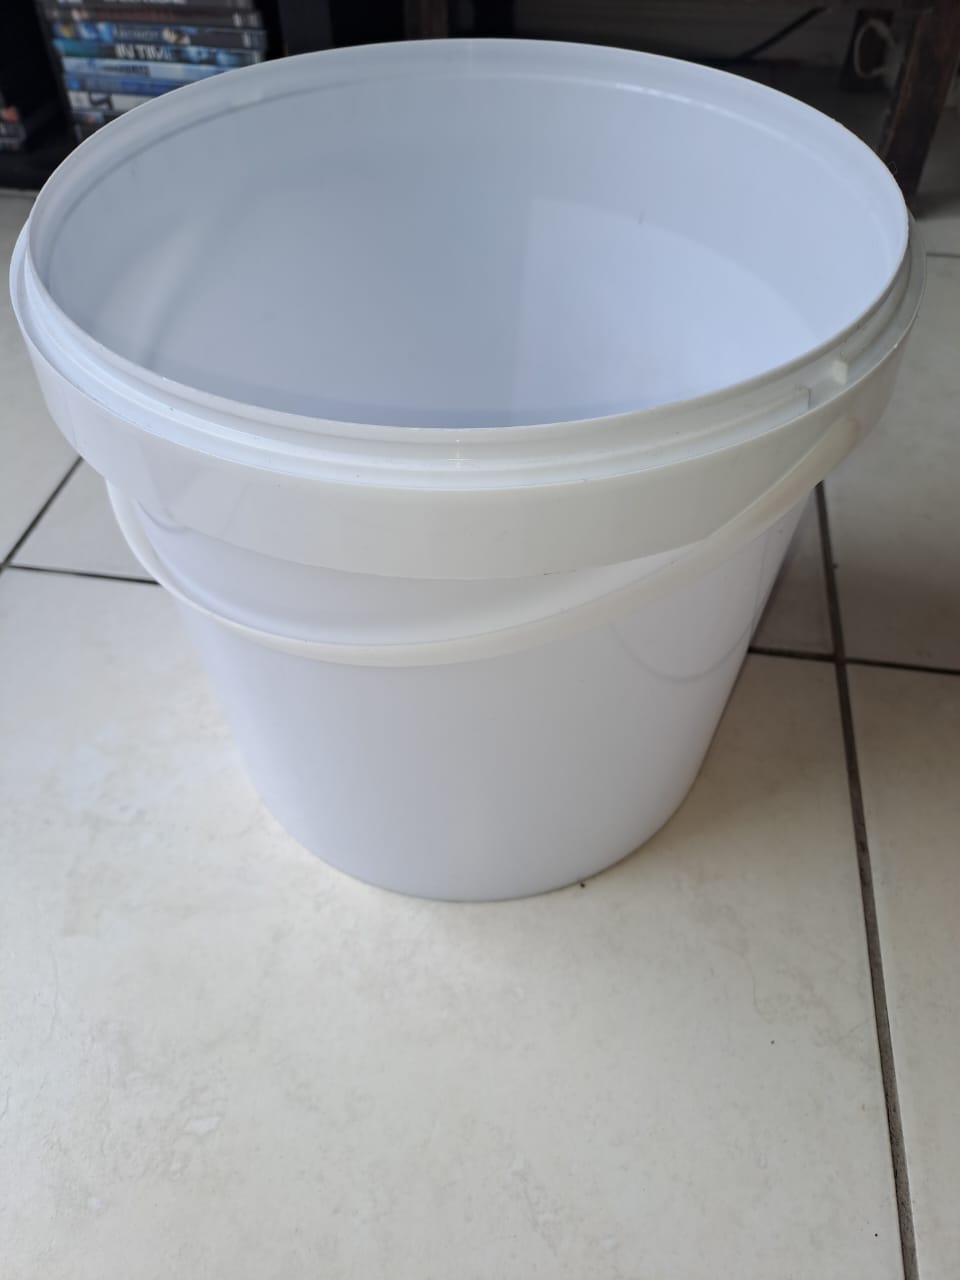
You may figure out another way of doing this, but in my small world, I have a separate 5-litre plastic bucket that I fill with 2 litres of water and 20ml of sanitizer.
I usually prepare this bucket at the start of the session. Once I have used something I plan on using again (spoon/jug etc), I place them back in here to keep them sanitized.
Then..you'll need that measuring jug from your boiling process (sanitized). You may also need a funnel (sanitized) - depending on the fermentation vessel you are going to use and how accessible it is.
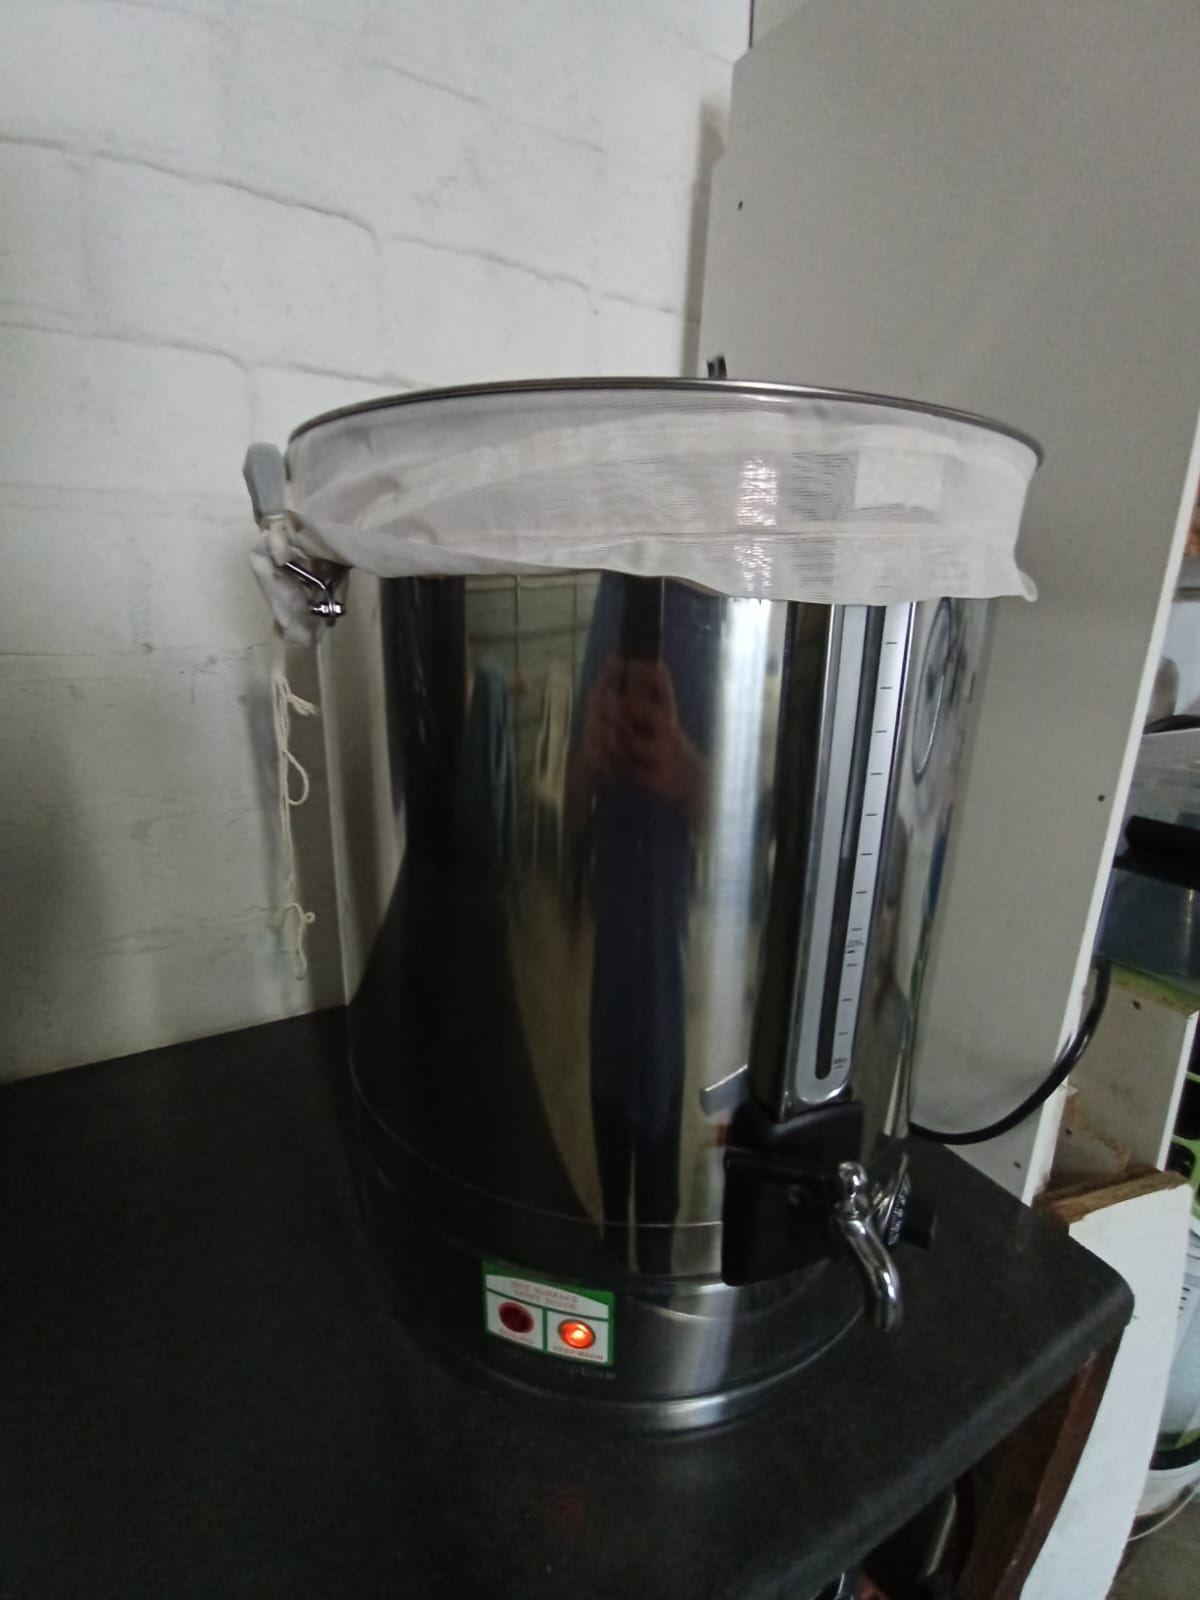
You will recall the last few steps of the boiling process - i.e. getting the final liquid cooled down to about room temperature (that is between 25 and 30 degrees) and keeping it away from any other bacteria - by using as little time as possible to cool it down or by clamping the lid down whilst it cools at a slower pace.
This liquid is your foundation and will now be transformed into your final product (your home brew).
Yeast (REQUIRED)
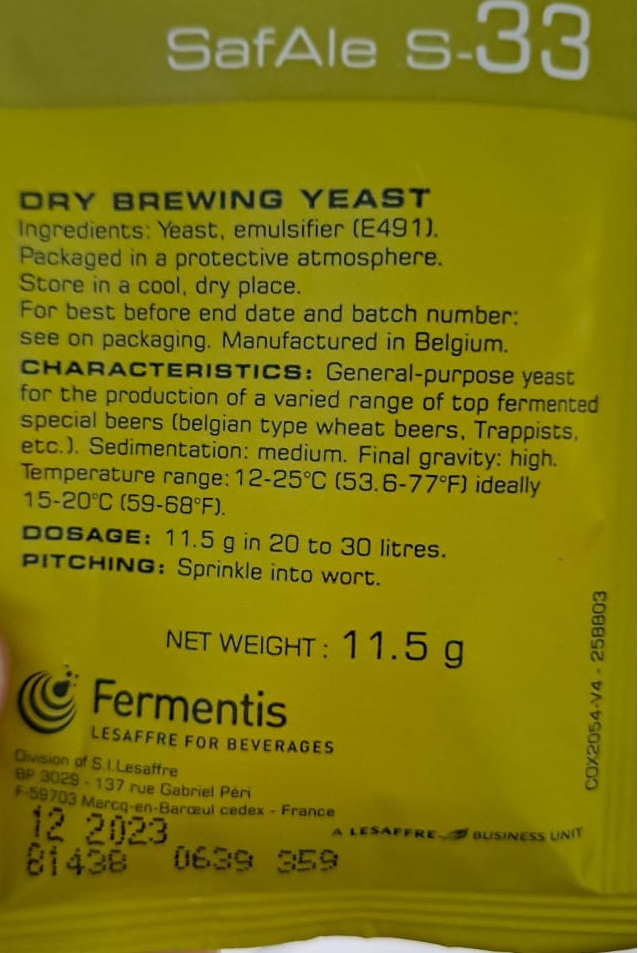
You can buy this from your local supplier. For our recipe, we are looking for a typical ale yeast. You will need 11.5 grams for our 20 liters but usually, this will be written on the packet as displayed in the picture.
These little guys do their best work at around 18-23 degrees celsius.
They will survive in higher temperatures (e.g. I've had a rare occasion of 28 degrees celsius) but they may give off some odd flavours. If, instead, the temperatures drop too low, they may become dormant and do nothing (or perhaps just far less than they should).
Also remember, different strains of yeasts result in different flavours. So once you get yourself settled in the process of making your own beer, you can start playing around with various types/strains of yeasts.
Yes, you can leave the foam that remains in your fermentation bucket after sanitizing. The sanitizers you buy from local suppliers are considered food-grade and safe. The foam will eventually disappear as time goes by during the fermentation process.
Yes, the airlock is crucial to ensure that the CO2 (generated by the yeast) can get released (instead of building up pressure in the fermentation bucket). Its second job (thus why it contains sanitizer or alcohol) is to ensure that no other bacteria can get in through the same vulnerable outlet (for the CO2). They are relatively cheap to obtain, BUT I can show you an easy method to make your own. See here.
You will see something that looks like foaming or frothing (almost like a very well-prepared filter coffee or the foam on caramelized sugar).
You don't want the temperature to go far below +- 17-18 degrees. This may result in the yeast becoming inactive and requiring another boost. You also don't want the temperature to rise above (let's say) 25 degrees. I've had this happen (close to 28 degrees) and everything was still fine, but you risk the chance of getting some funky flavours.
Probably not. This is my go-to strategy and has always worked out well. In reality, you can take a sanitized measuring jug, scoop some of the wort, and add it to a tube that will support your hydrometer. You can then measure the sugar levels in the wort and decide whether the fermentation process has been completed or not (e.g. sugar content dropped from 1.050 to 1.010)
So.. the bubbles from your airlock says one thing only: "I'm releasing CO2". It says absolutely nothing with absolute certainty about the progress of the fermentation process (or at least should not be considered a primary source of truth) - it does however give you a feel for consistency in activity over multiple batches. If you want the absolute truth, measure the sugars with your hydrometer. Alternatively, you are guaranteed (well maybe) to have sufficiently completed the fermentation process in 14 days (given the temperatures stay where they should be). Initially, it should start bubbling in roughly 8-16 hours after adding the yeast. It may stop bubbling in another 12 hours (with some unpredictable moments thereafter). Don't be alarmed if it's quiet. Just leave it.